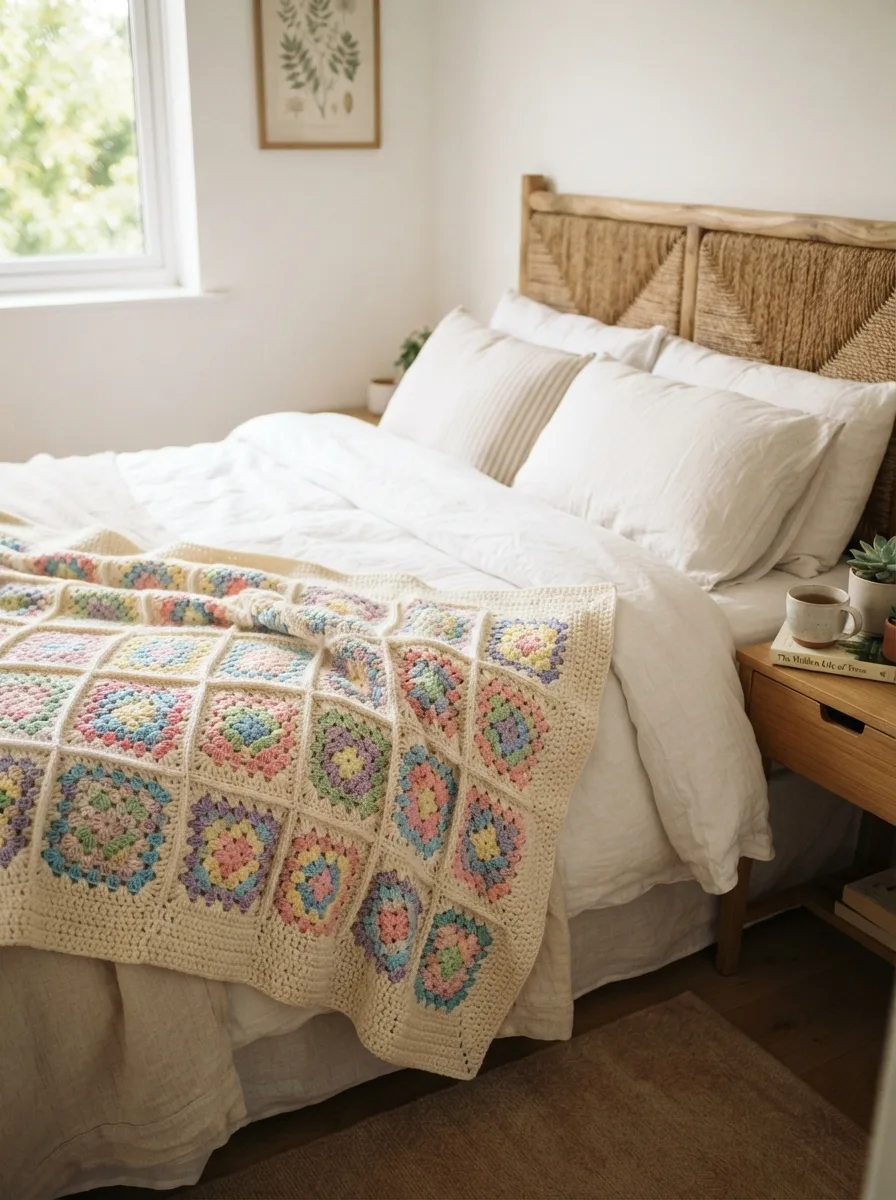
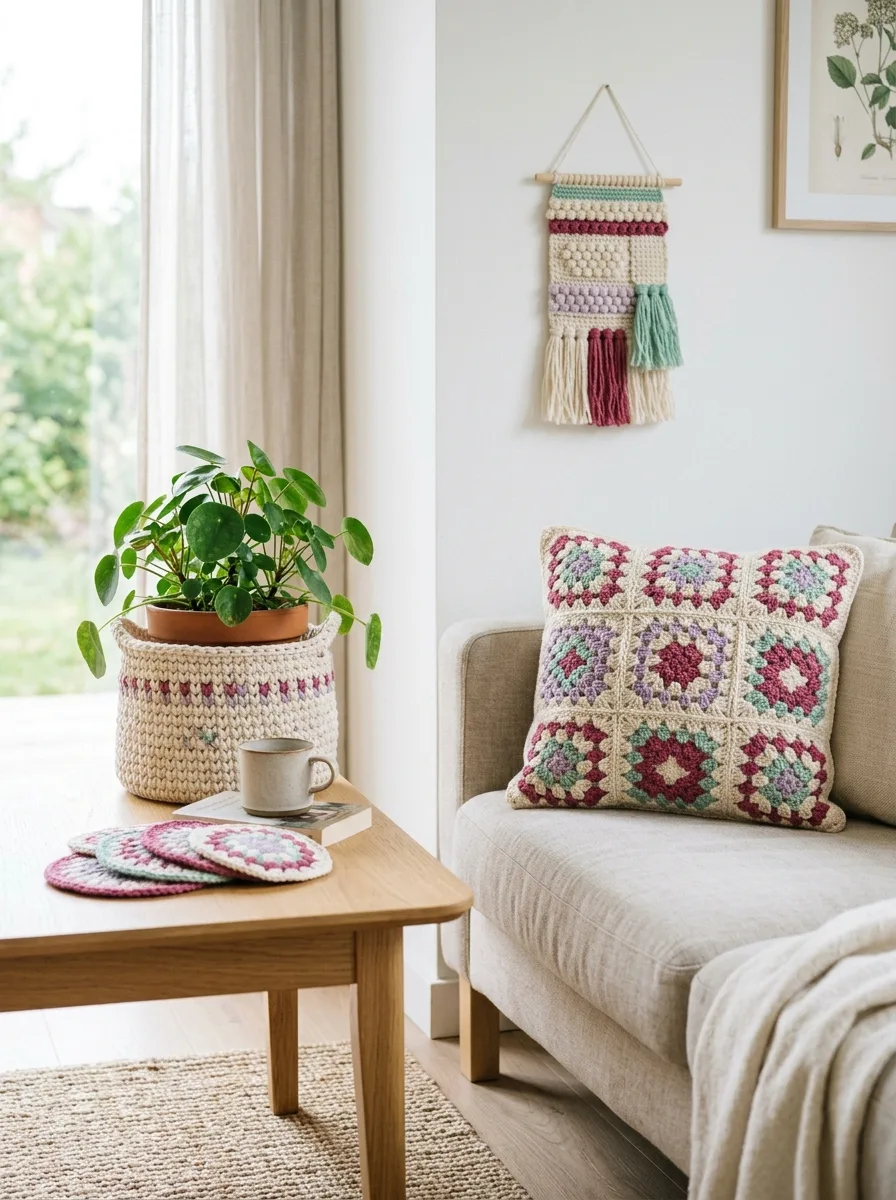
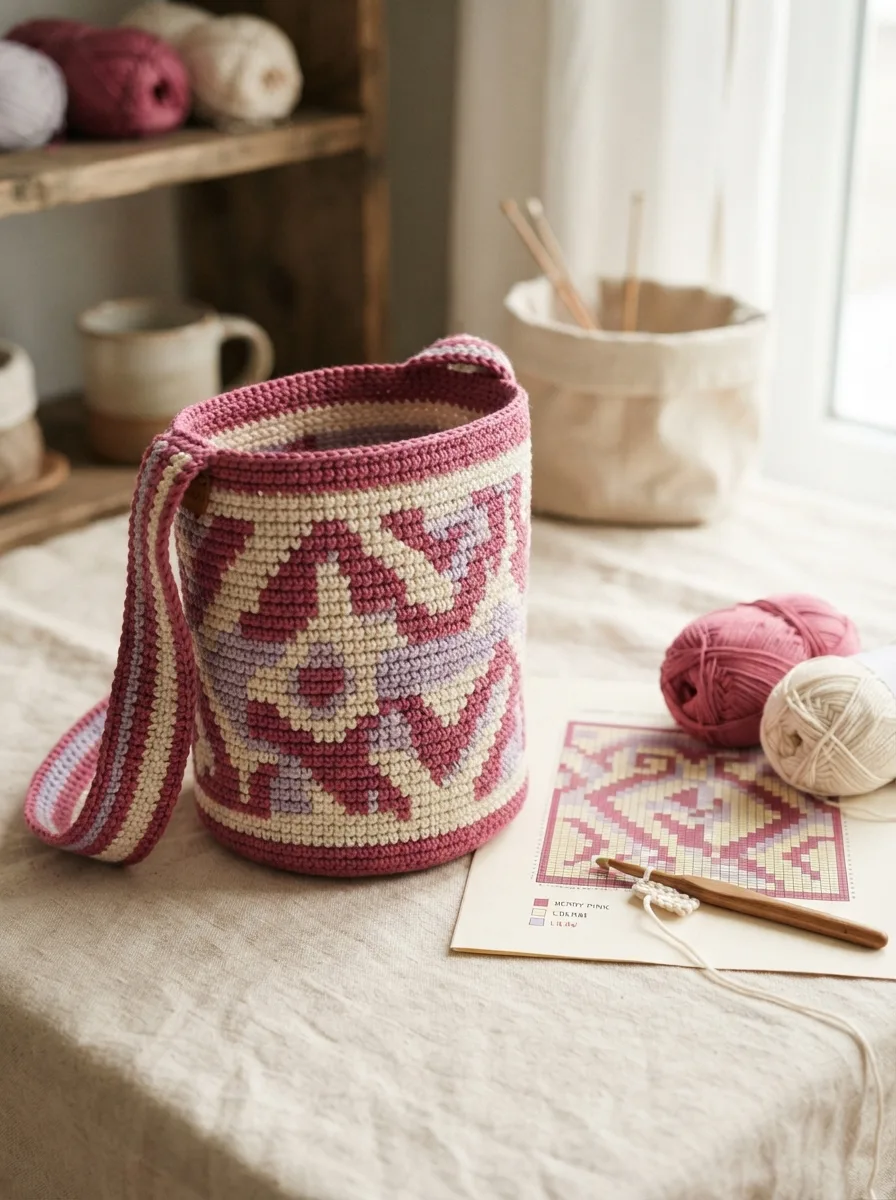
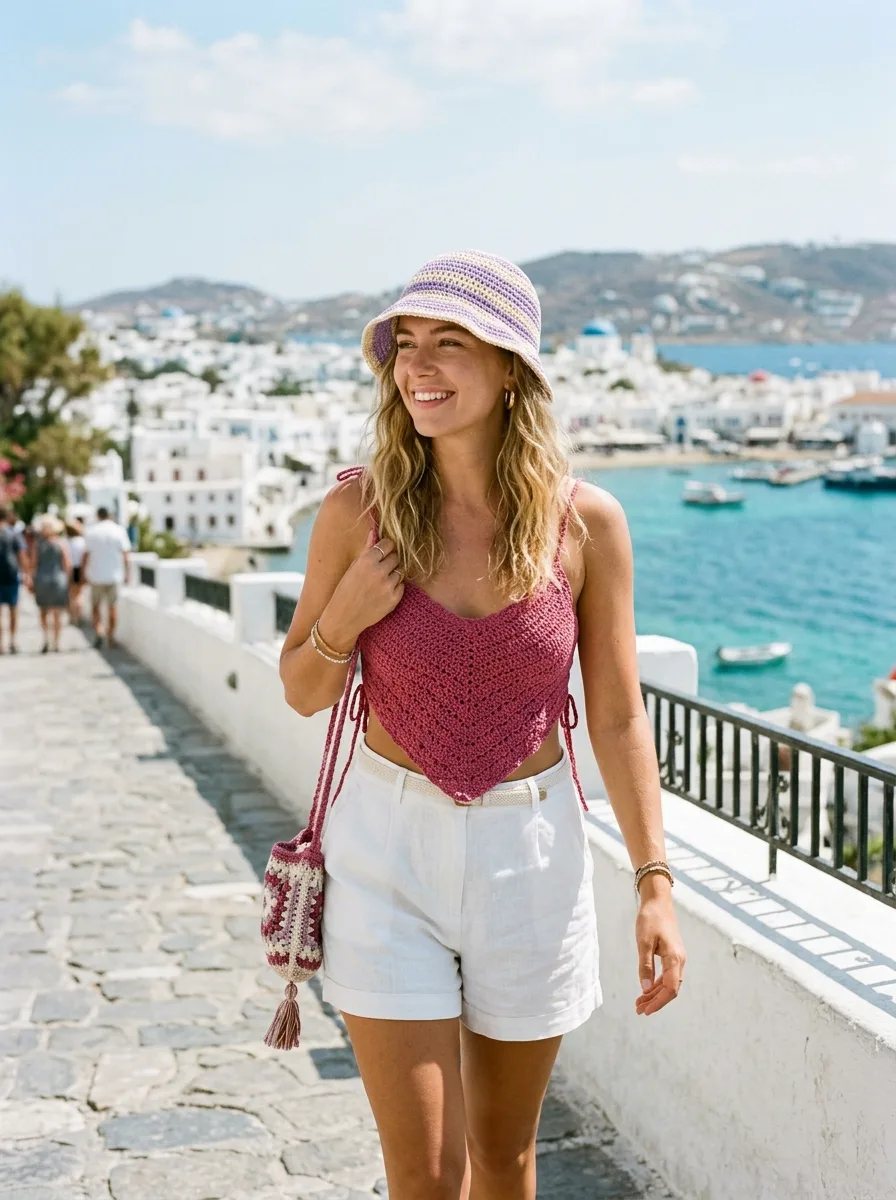
A free classic granny square crochet pattern with a round-by-round row tracker, color-change tips, joining methods, and project ideas from bags to blankets.
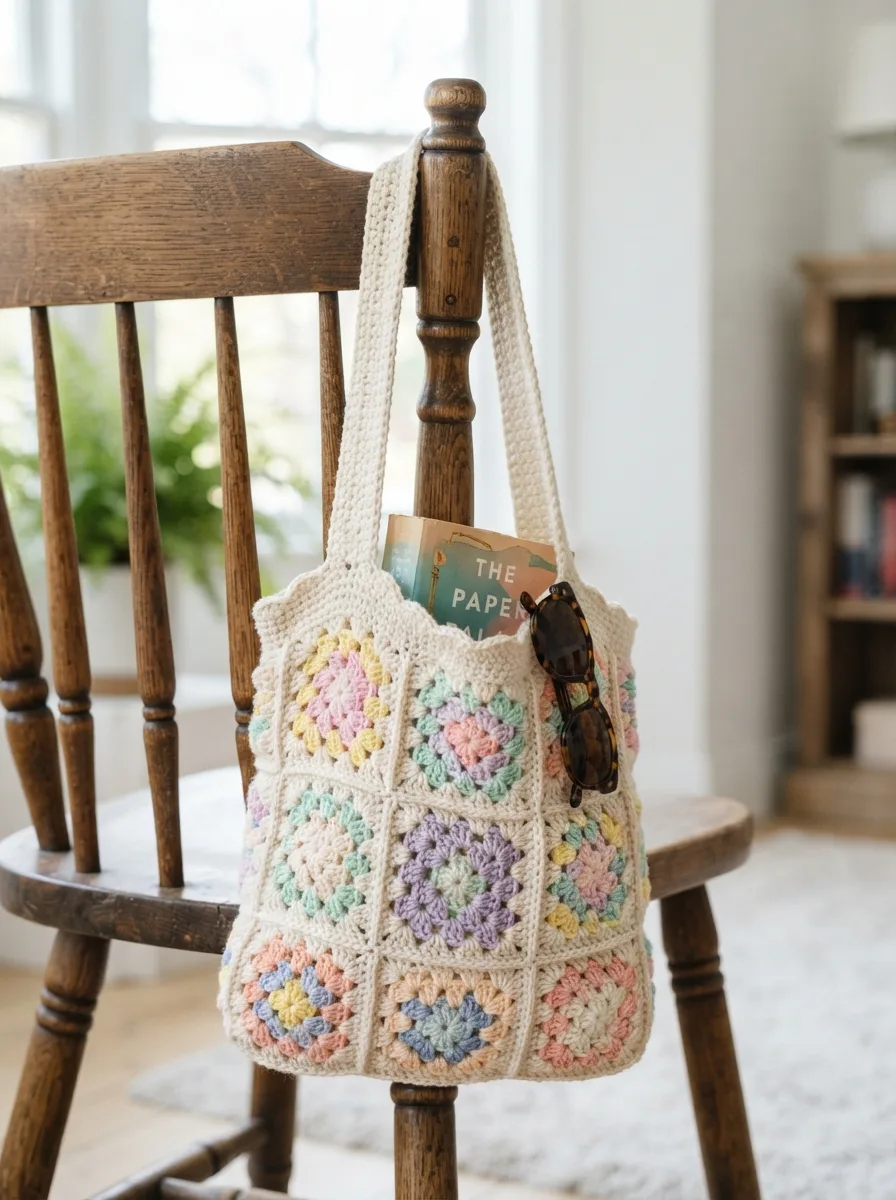
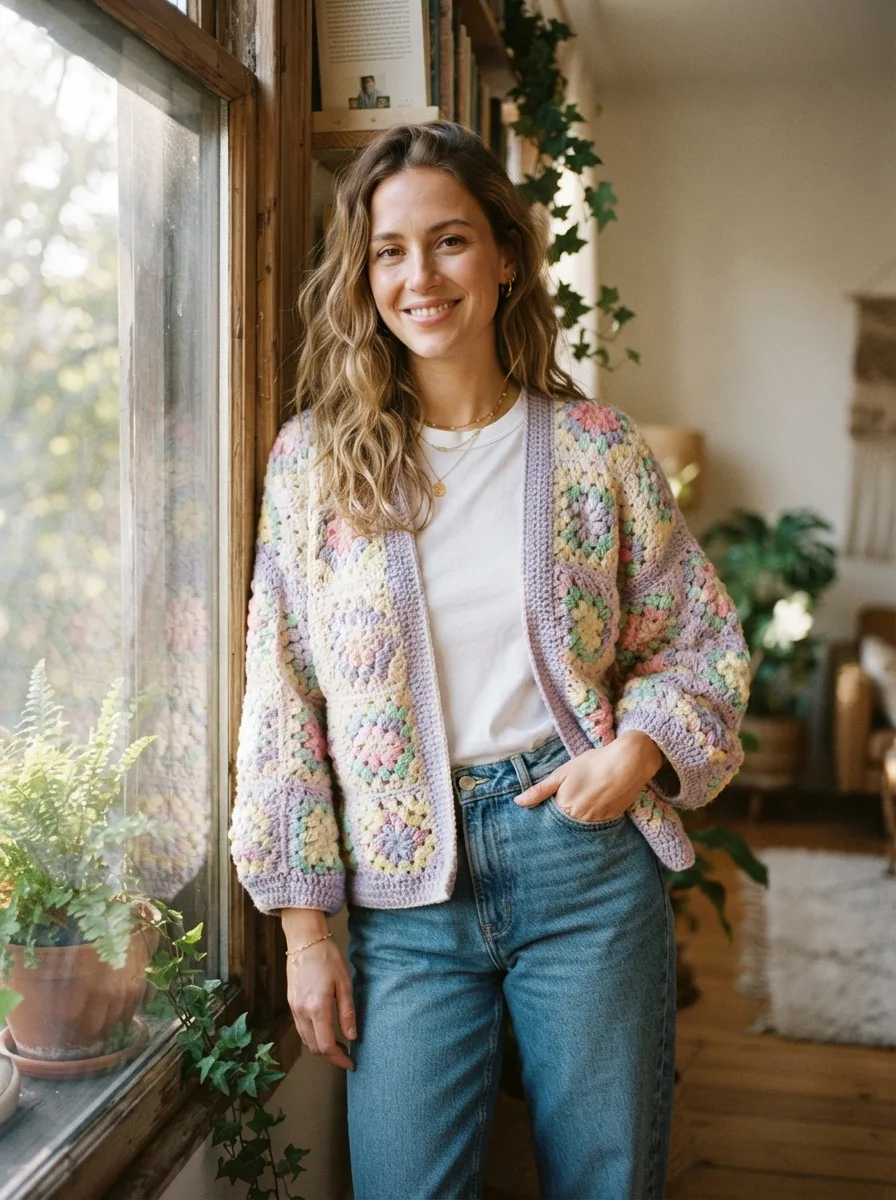
The granny square crochet pattern is the most famous design in crochet for good reason: it’s easy to memorize, it uses scraps beautifully, and the same little square becomes a blanket, a tote bag, a pillow, or that granny-square cardigan filling your Pinterest feed. This free pattern walks through all four rounds with a tracker, then shows how to change colors, block, and join your squares.
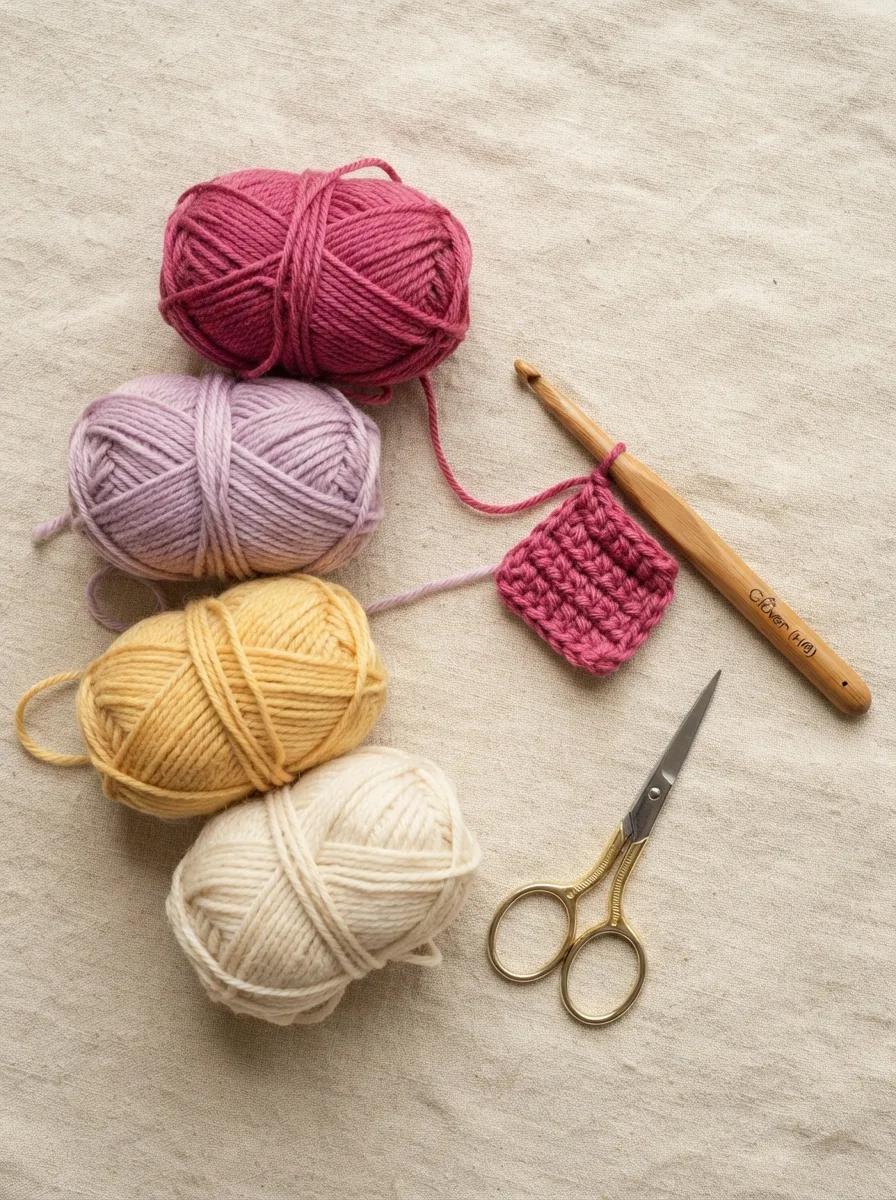
One square uses about 10 g of worsted yarn. Pick four colors that make you happy.
Worsted-weight yarn and a 5 mm hook give a squishy, classic square. You’ll use chch = chainUK: chainYarn over and pull through the loop on your hook. The foundation of almost every project., sl stsl st = slip stitchUK: slip stitch (ss)Insert hook, yarn over, pull straight through the stitch and the loop on your hook. Used to join rounds and travel invisibly., and dcdc = double crochetUK: treble (tr)Yarn over, insert, pull up a loop (3 loops), then [yarn over, pull through 2] twice. About twice as tall as sc., plus two pattern terms: spsp = spaceUK: spaceThe gap under a chain or between stitches. "Ch-sp" means work into the space under a chain, not into the chain itself. (the chain space) and the “cluster,” which here simply means 3 dc worked into the same space.
Before you start: the ch 3 at the beginning of each round counts as the first dc. Granny squares are worked in joined rounds, and you don’t turn between rounds.
Round 1: The Center
Start with a small chain ring (or a MRMR = magic ringUK: magic ring / magic loopAn adjustable loop you work the first round into, then pull tight so the center of a round piece closes with no hole. if you prefer a closed center).
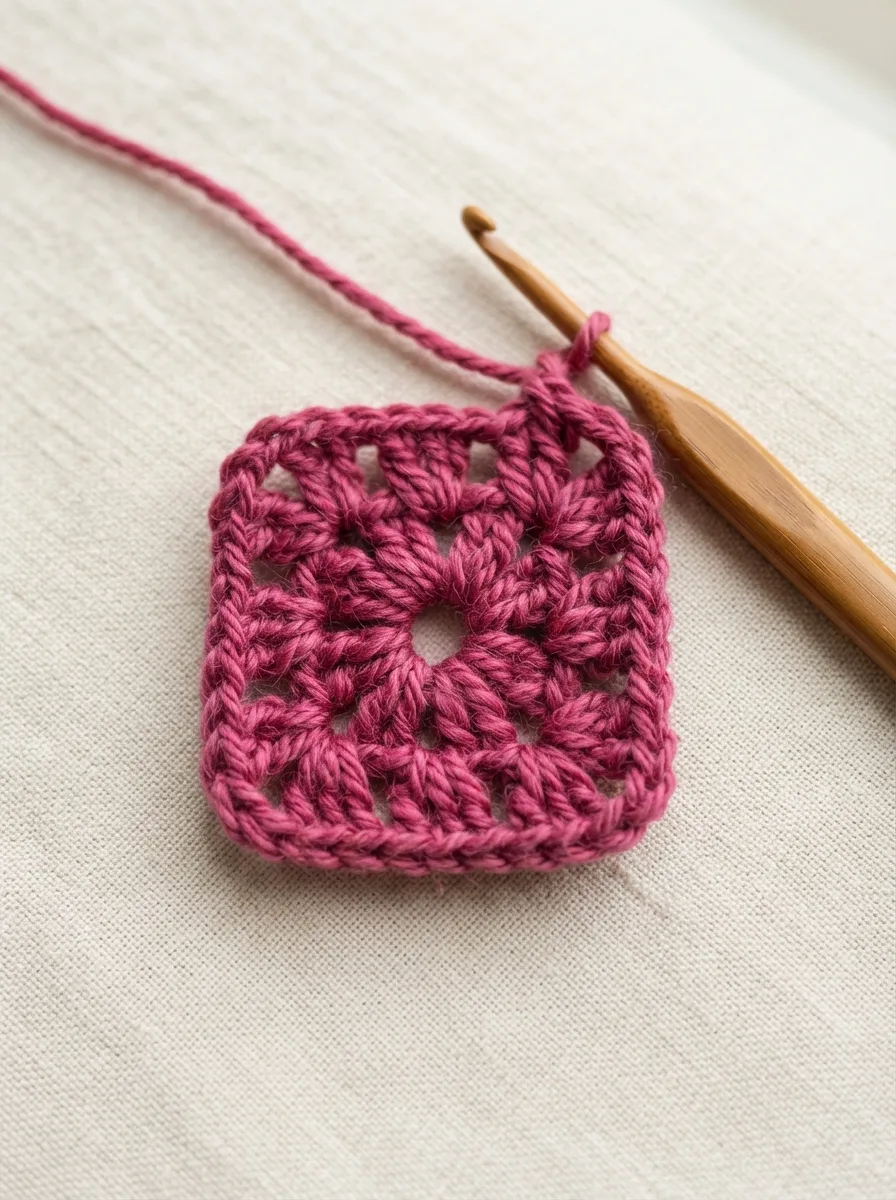
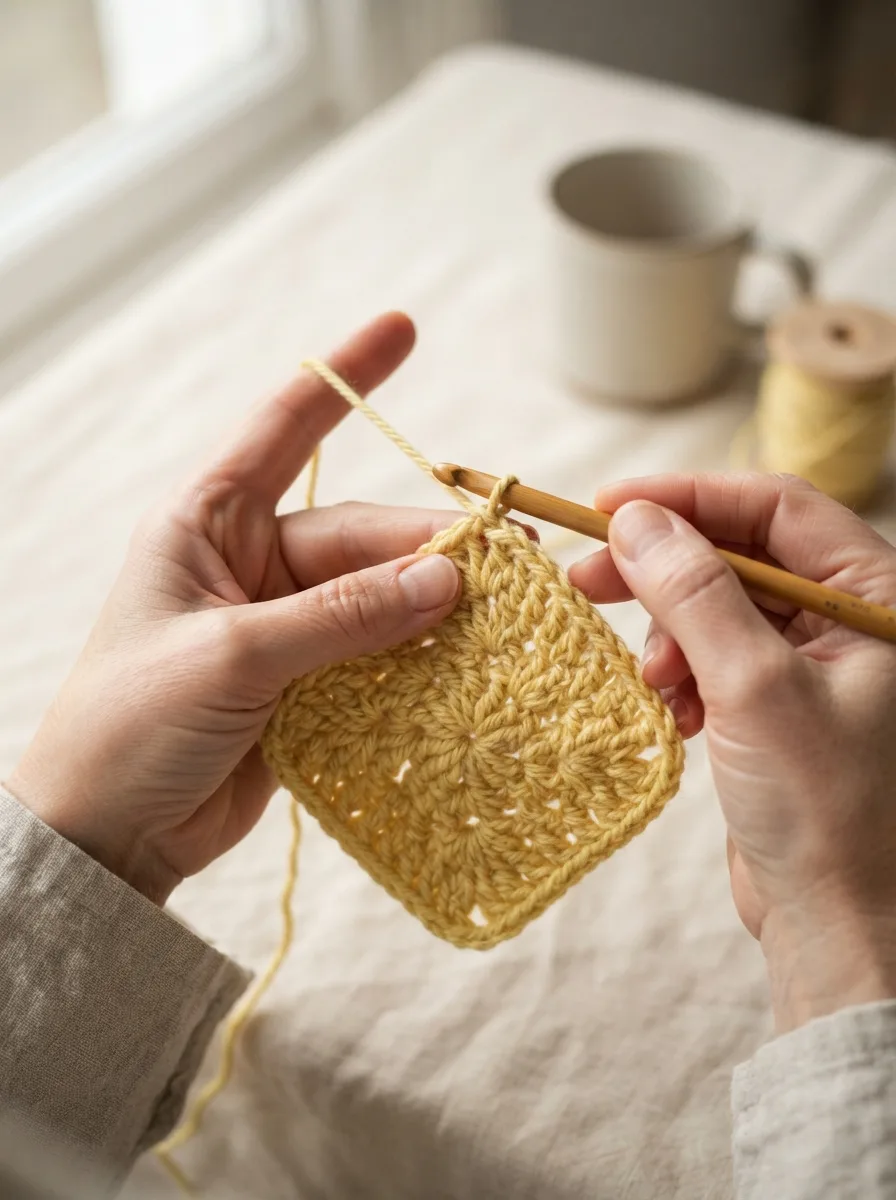
Round 1: four clusters of 3 dc separated by chain-2 corners. It already looks square.
Work four clusters of 3 dc into the ring, separated by chain-2 spaces. Those four ch-2 spaces are your four corners, forever.
Round 2: Building the Corners
Slip stitch across to the first corner so you start in the right place, then work (3 dc, ch 2, 3 dc) into each corner space, with a ch 1 between corners.
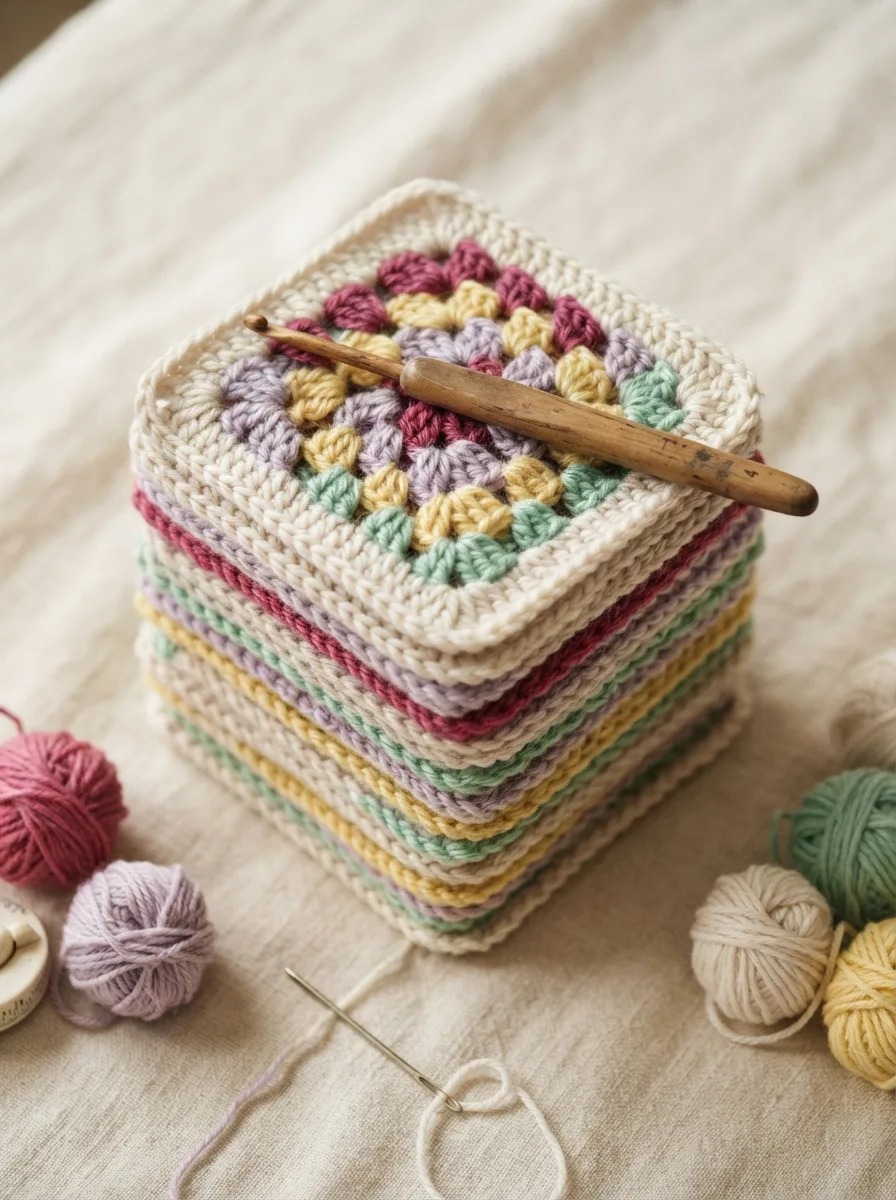
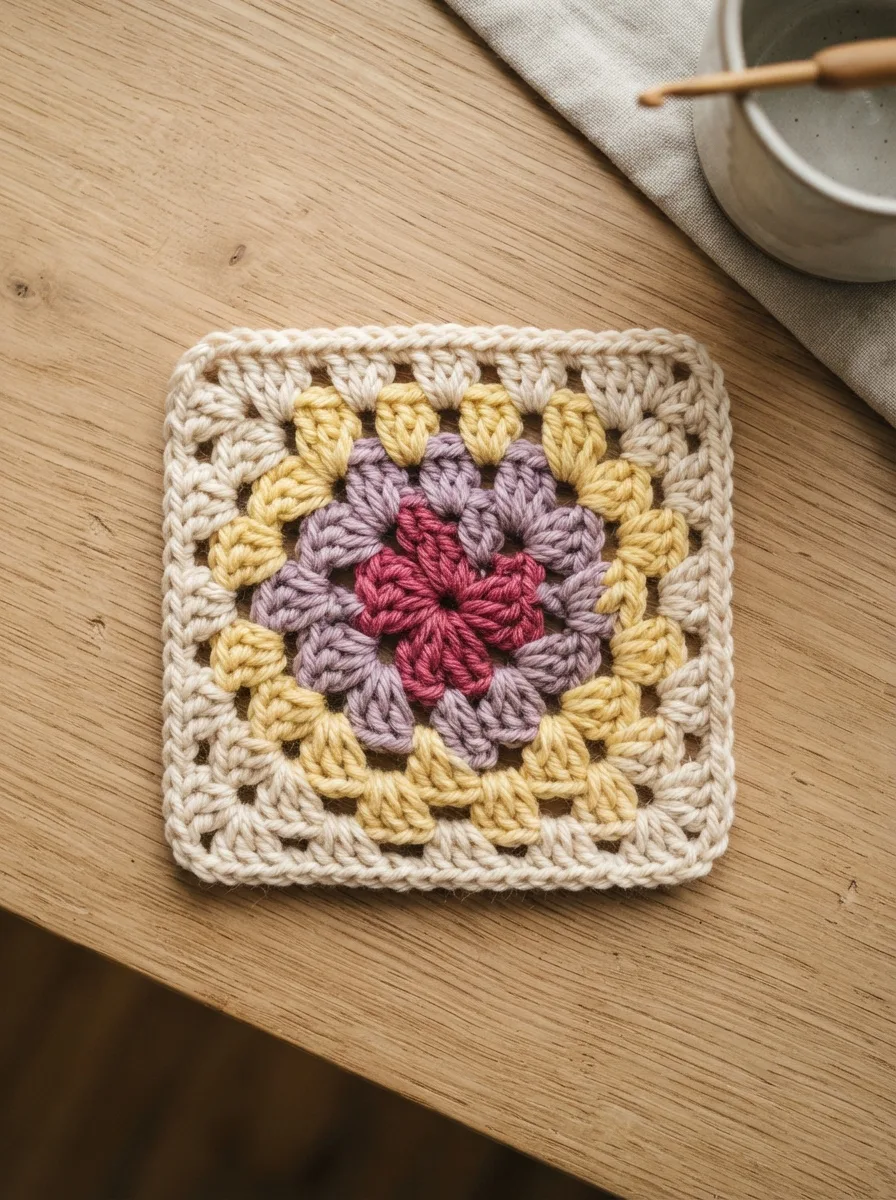
Four rounds, four colors: a finished classic granny square.
How to Change Colors
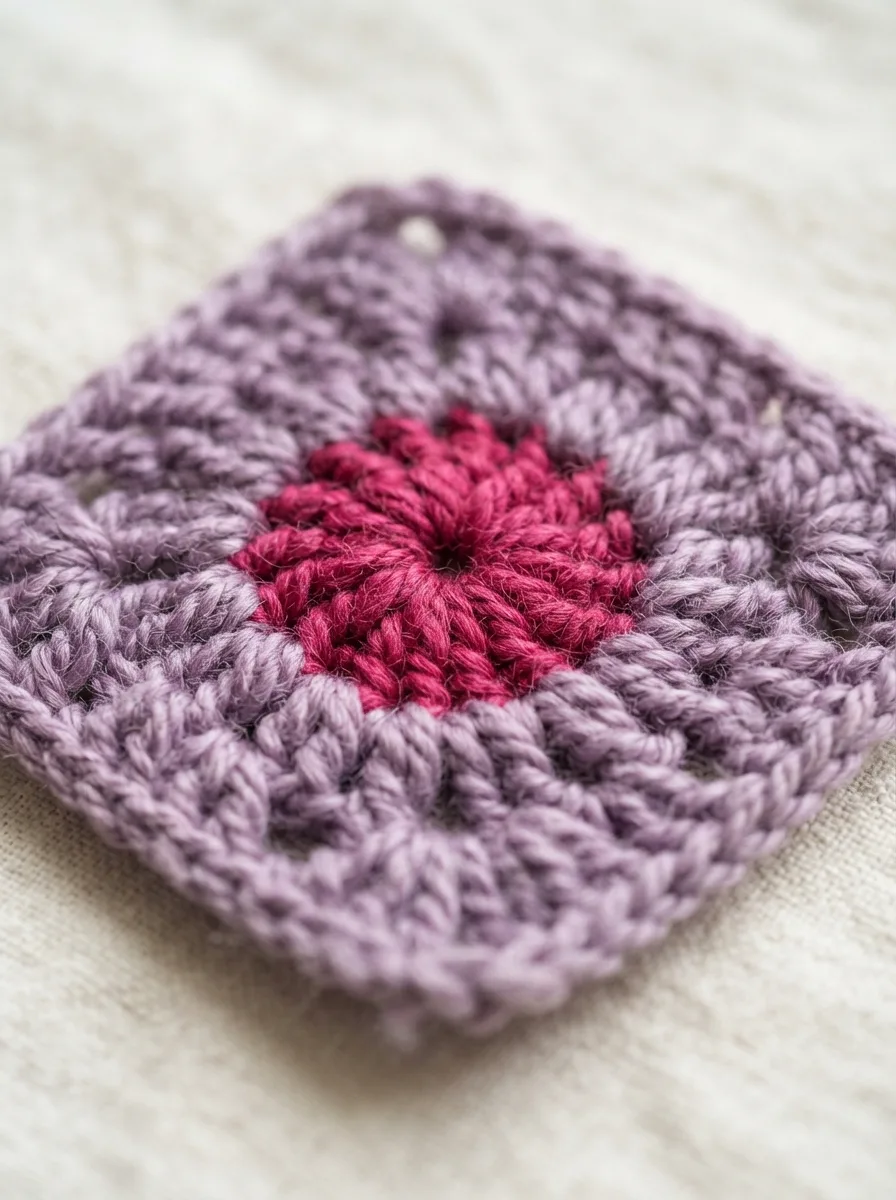
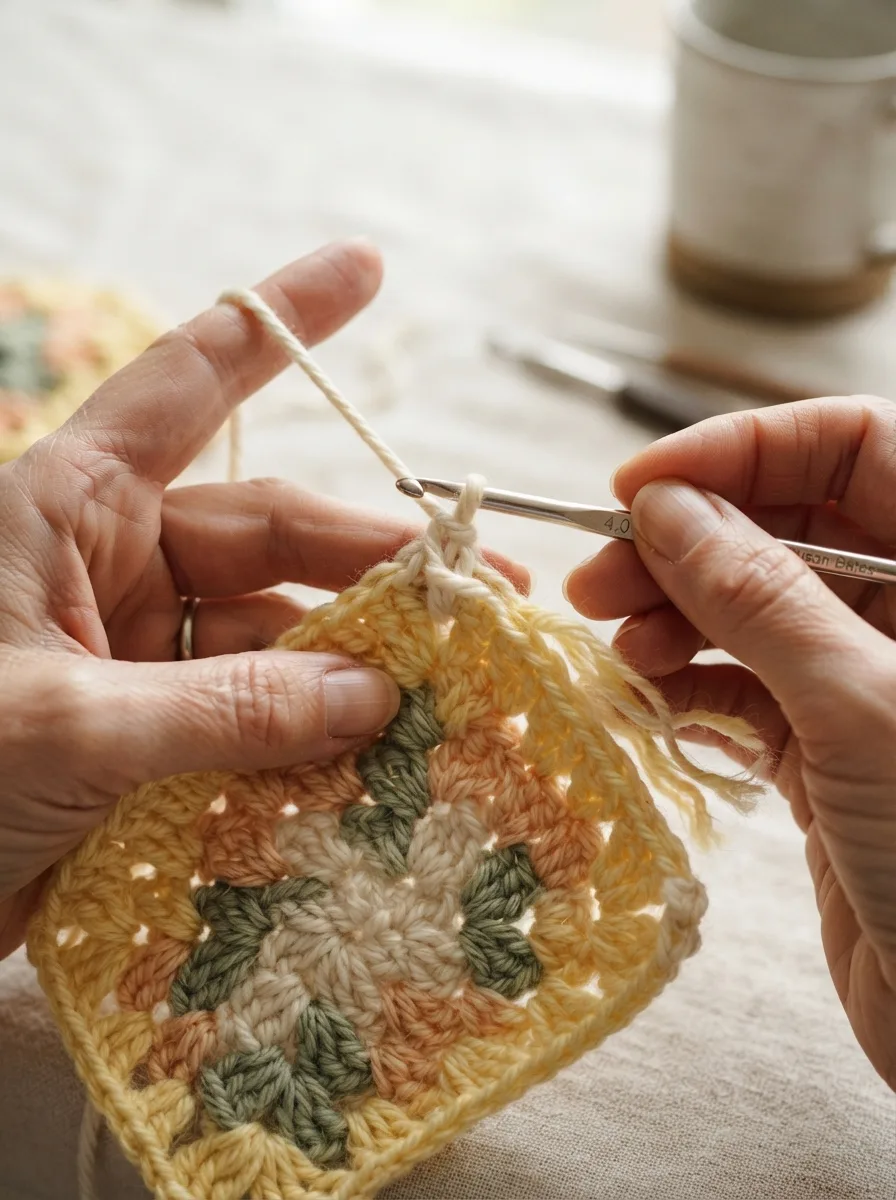
For a multicolor square, fasten off at the end of a round, then join the new color in a corner space with a slip stitch, ch 3, and continue as normal. (You’ll skip the slip stitches across to the corner, because you’re already there.)
Change colors in a corner: the join hides inside the cluster and the ends are easy to weave in.
Tip: work over the old and new tails for the first few stitches of the round. They get trapped inside the stitches, which leaves far fewer ends to weave in later.
Block Your Squares
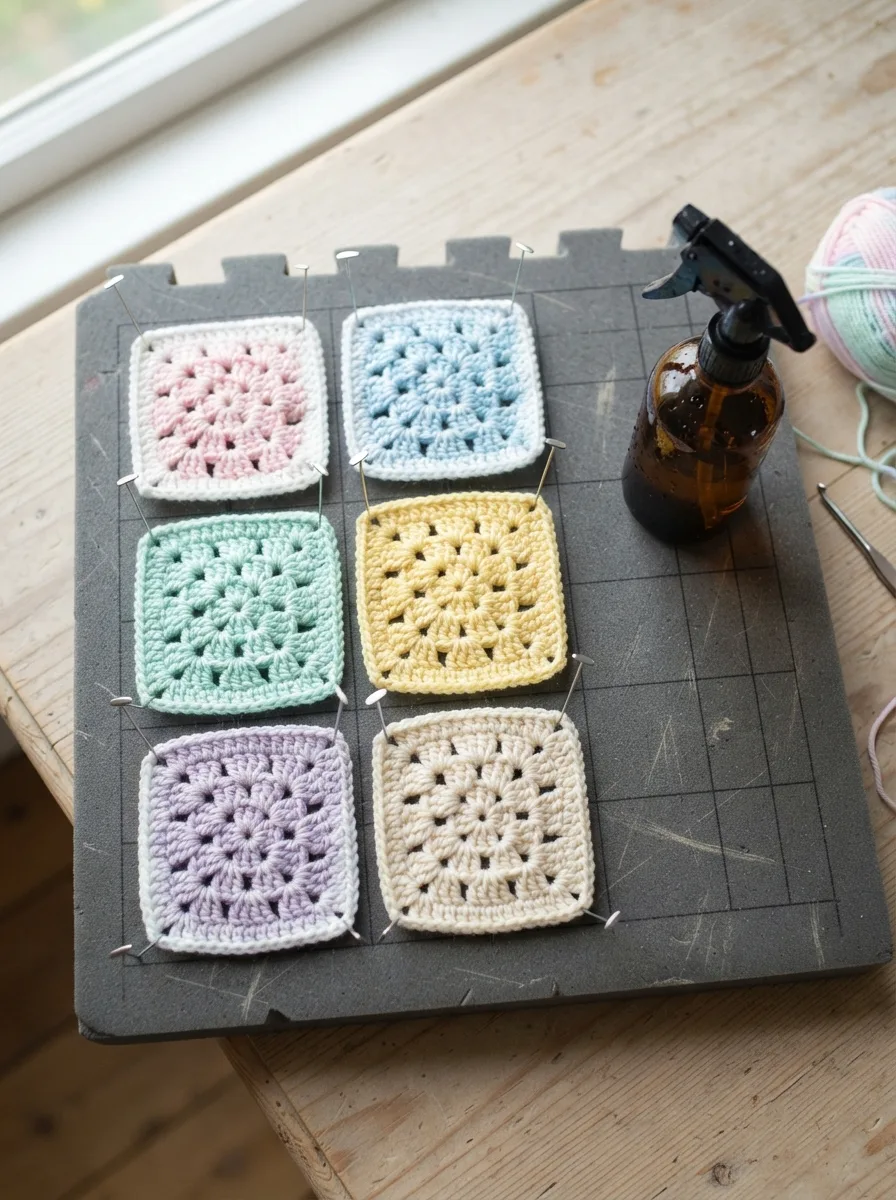
Blocking makes every square the same size and gives them crisp corners, which matters a lot when you join dozens together.
Blocking turns slightly wonky squares into perfectly matching ones. Pin, mist, and let them dry.
Pin each square to a foam board or a folded towel using your measured size, mist with water until damp, and let it dry completely. For acrylic, a light steam (hovering, never pressing) works better than water.
How to Join Granny Squares
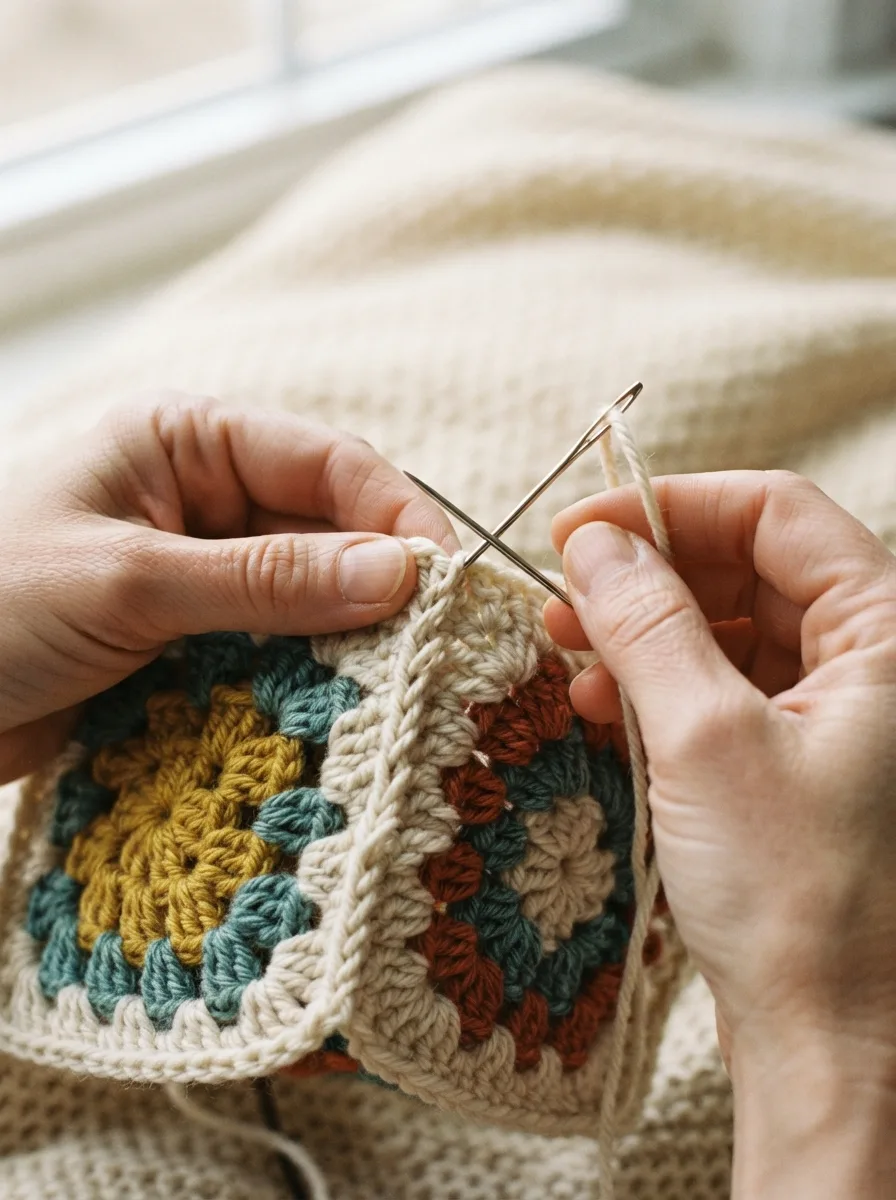
Whip stitch through the back loops: flat, soft, nearly invisible. It’s the best for blankets.
Whip stitch through the back loops for a flat, nearly invisible join.
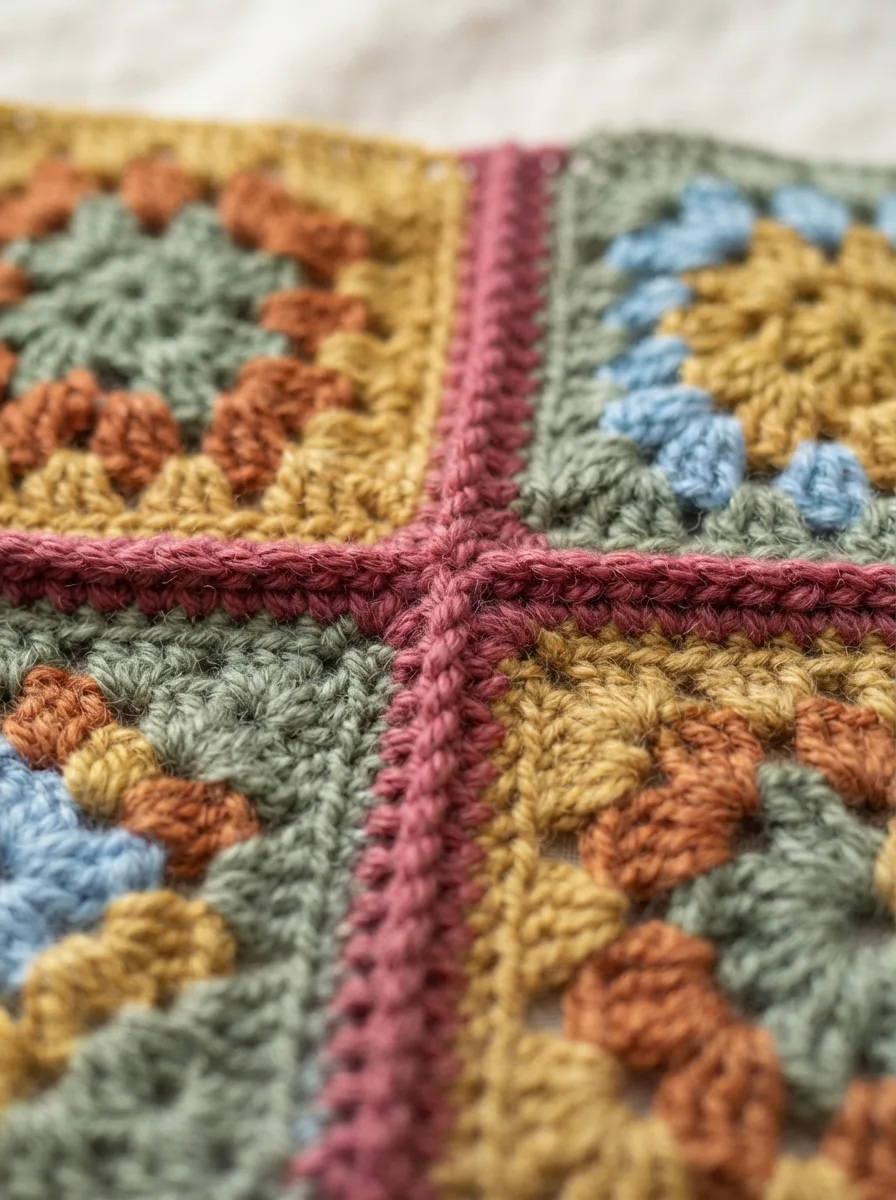
Slip stitch join on the right side: a raised, decorative ridge that frames each square.
Join-as-you-go: connect squares during their final round, so there’s no sewing at the end. Once you’re comfortable with the basic square, it’s worth learning.
Why is my granny square twisting or turning into a circle?
Two common causes: working the corner clusters into the wrong space, or turning your work between rounds. Classic granny squares are worked with the right side facing you the whole time, and every corner must be (3 dc, ch 2, 3 dc) in a chain-2 space.
Does the chain 3 at the start of a round count as a stitch?
Yes. In this pattern the ch 3 counts as the first double crochet of the round, which is why you only work 2 more dc to complete that first cluster.
With 4-round squares (about 11 cm), a baby blanket needs about 48 (6 × 8), a lap throw about 80 (8 × 10), and a single bed about 150. Bigger squares with more rounds mean fewer squares to join.
Worsted-weight acrylic or a wool blend for blankets (soft, washable, affordable), and cotton for bags and summer tops (crisp and structured). Stick to one yarn weight across the whole project so squares come out the same size.
How do I make a bigger granny square?
Just keep going. Every new round adds one more side cluster per side: (3 dc, ch 2, 3 dc) in each corner, and [ch 1, 3 dc in next ch-1 sp] along each side. A 'giant granny square' blanket is one square worked until it's the size you want.