How to Crochet for Beginners: Your First Stitches, Step by Step
Learn how to crochet from zero: hold the hook, tie a slip knot, chain, single crochet, and finish a real practice square, with photos and a row tracker.
If you’ve been saving crochet tops, keychains, and granny squares on Pinterest and wondering how people actually make them, this is where it starts. Learning how to crochet for beginners comes down to five movements: holding the hook, tying a slip knot, making a chain, working a single crochet, and finishing. By the end of this guide you’ll have used all five to make a real square you can keep as a coaster.
You don’t need talent, a class, or expensive tools. You need one hook, one ball of smooth yarn, and about an hour where nobody asks you for anything.
What You Need Before Your First Stitch
Keep your first kit small. The right yarn matters more than anything else on this list.
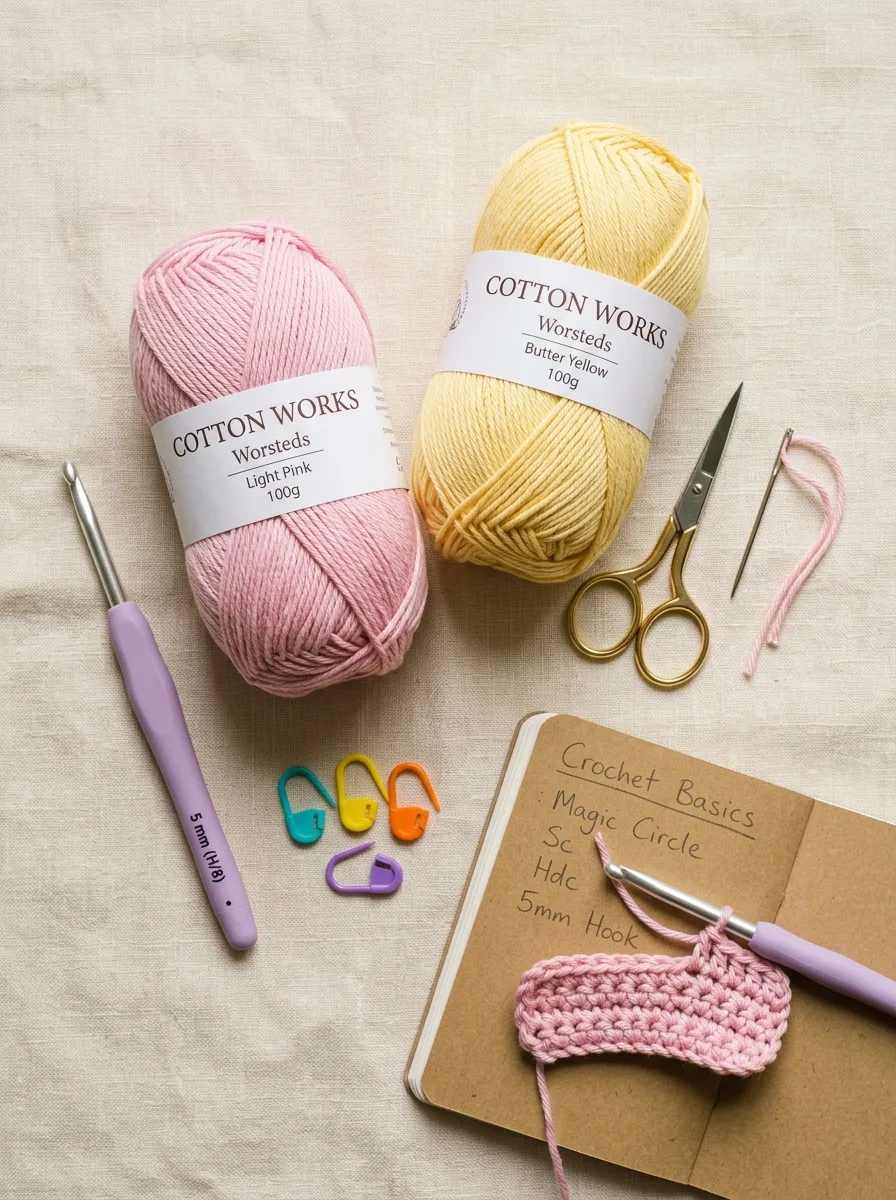
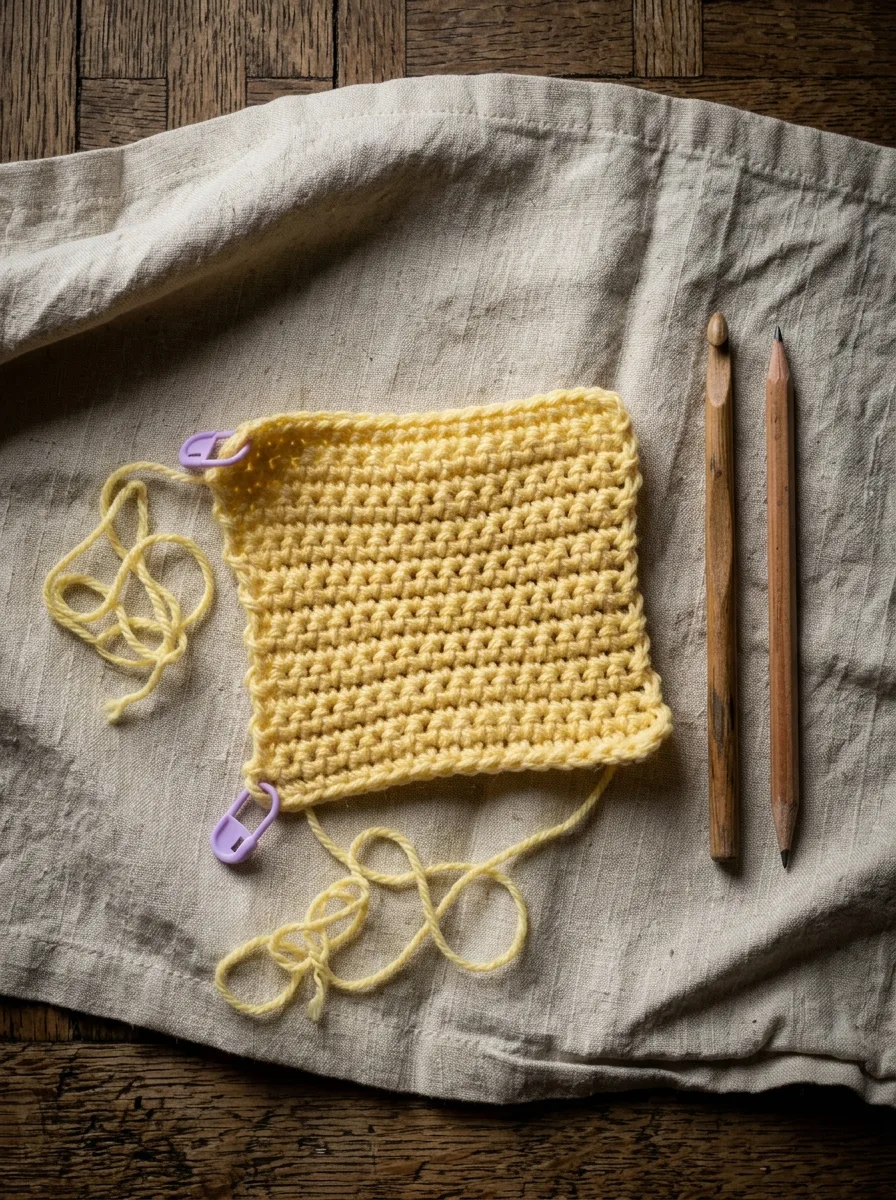
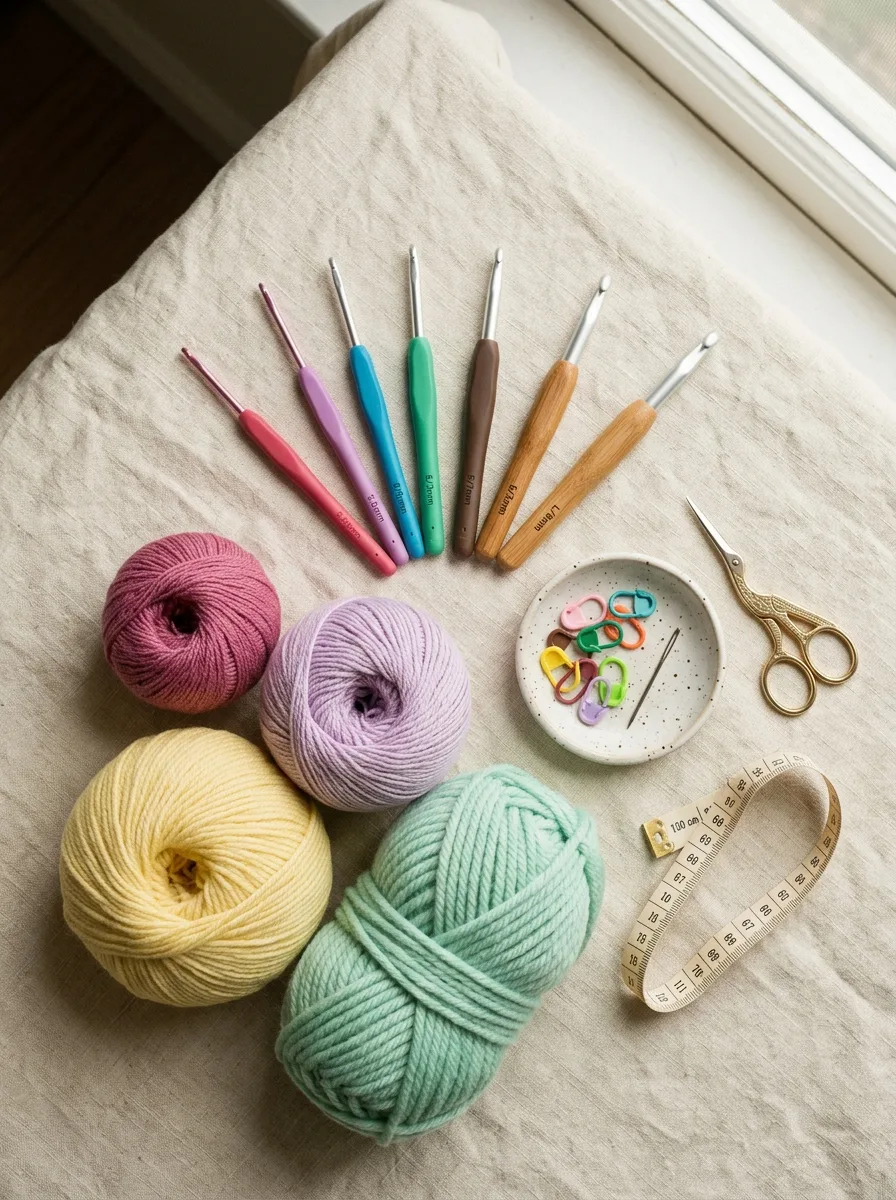
Everything you need to learn to crochet fits in a pencil case: one 5 mm hook, smooth light-colored worsted yarn, scissors, a blunt needle, and a few markers.
A 5 mm (US H-8) hook. Aluminium or a hook with a soft ergonomic handle both work.
Smooth, light-colored worsted yarn. Cotton or a cotton blend is ideal because every stitch stays visible. Skip dark colors, fuzzy mohair, and “velvet” chenille for now. They hide your stitches, which makes learning twice as hard.
Scissors, a blunt tapestry needle, and 2 stitch markers. A bobby pin works as a marker in a pinch.
Want the full rundown on hook sizes and yarn weights? Our crochet tools and yarn guide explains what the numbers on the label mean.
How to Hold the Hook and Yarn
There are two common ways to hold a crochet hook, and both are correct.
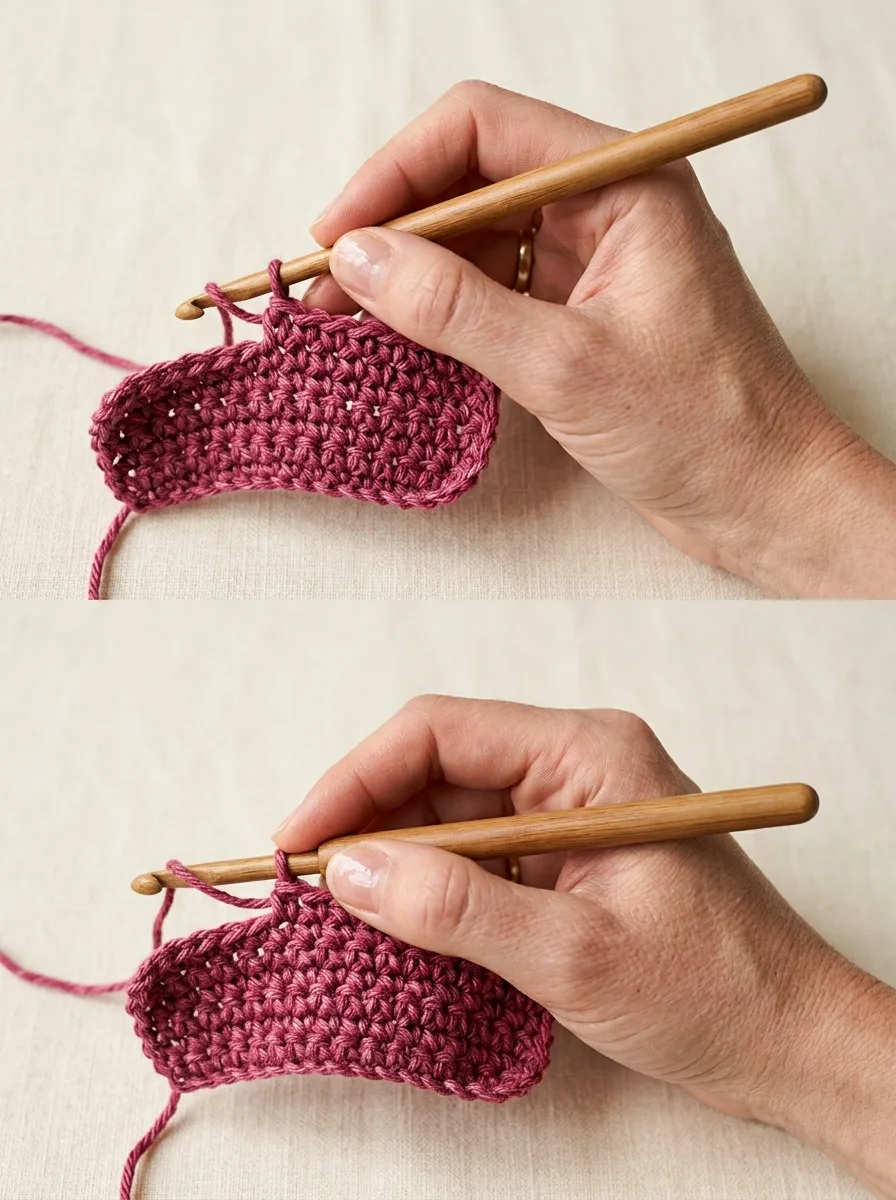
Pencil grip or knife grip? Neither is 'correct'. Pick the one that doesn't make your wrist ache after ten minutes.
The pencil grip holds the hook like a pen, with your thumb and index finger on the flat thumb rest. It gives fine control and suits people who write a lot. The knife grip puts your hand over the hook like you’re cutting food. It’s gentler on the wrist for long sessions. Try both for a row each and keep whichever feels less effortful.
Your other hand does the quieter but more important job: it controls the yarn.
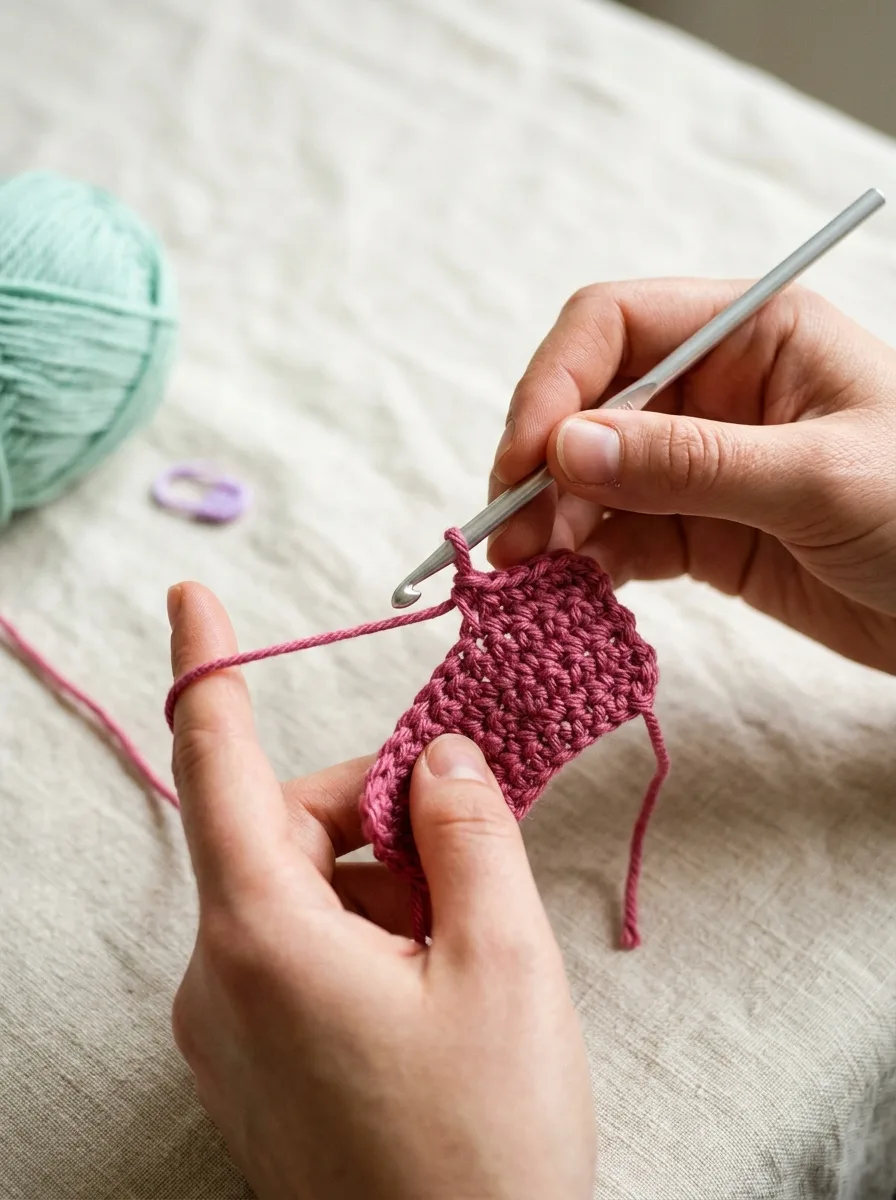
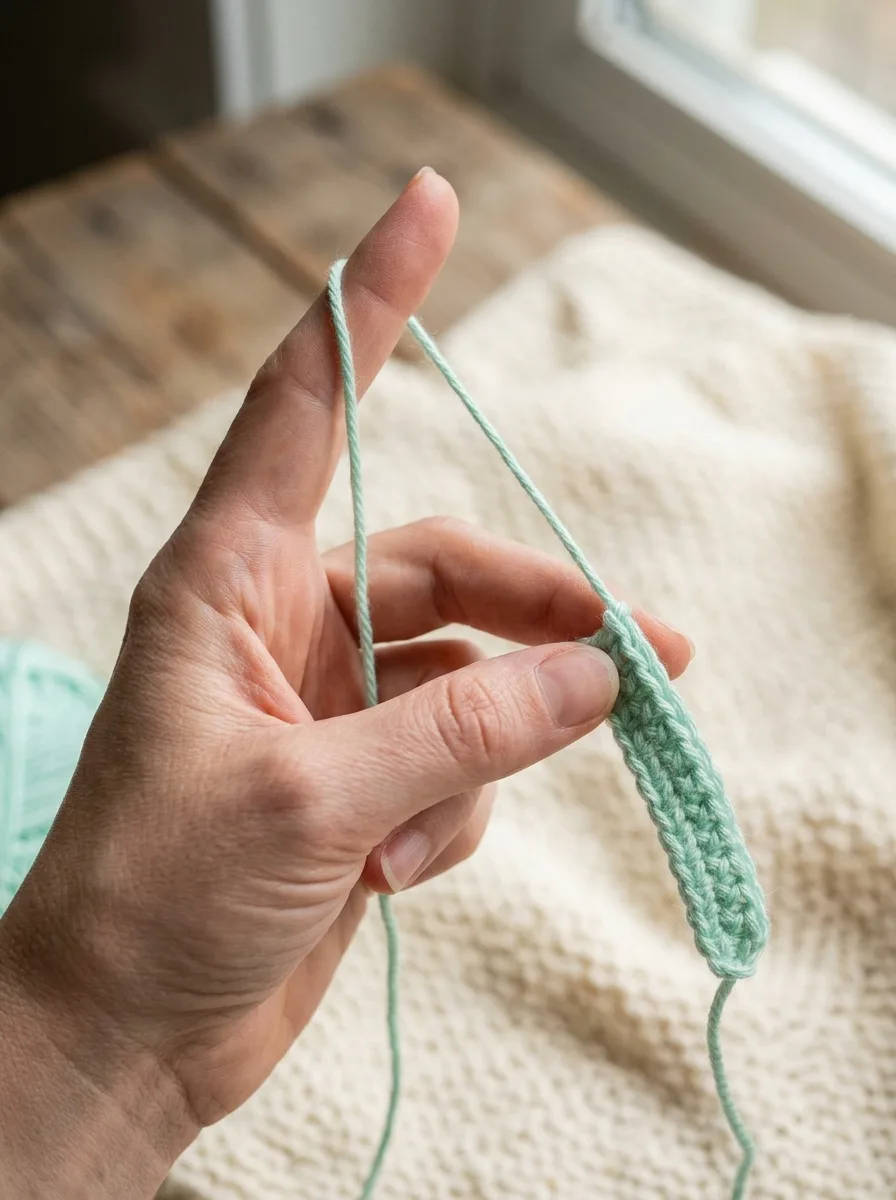
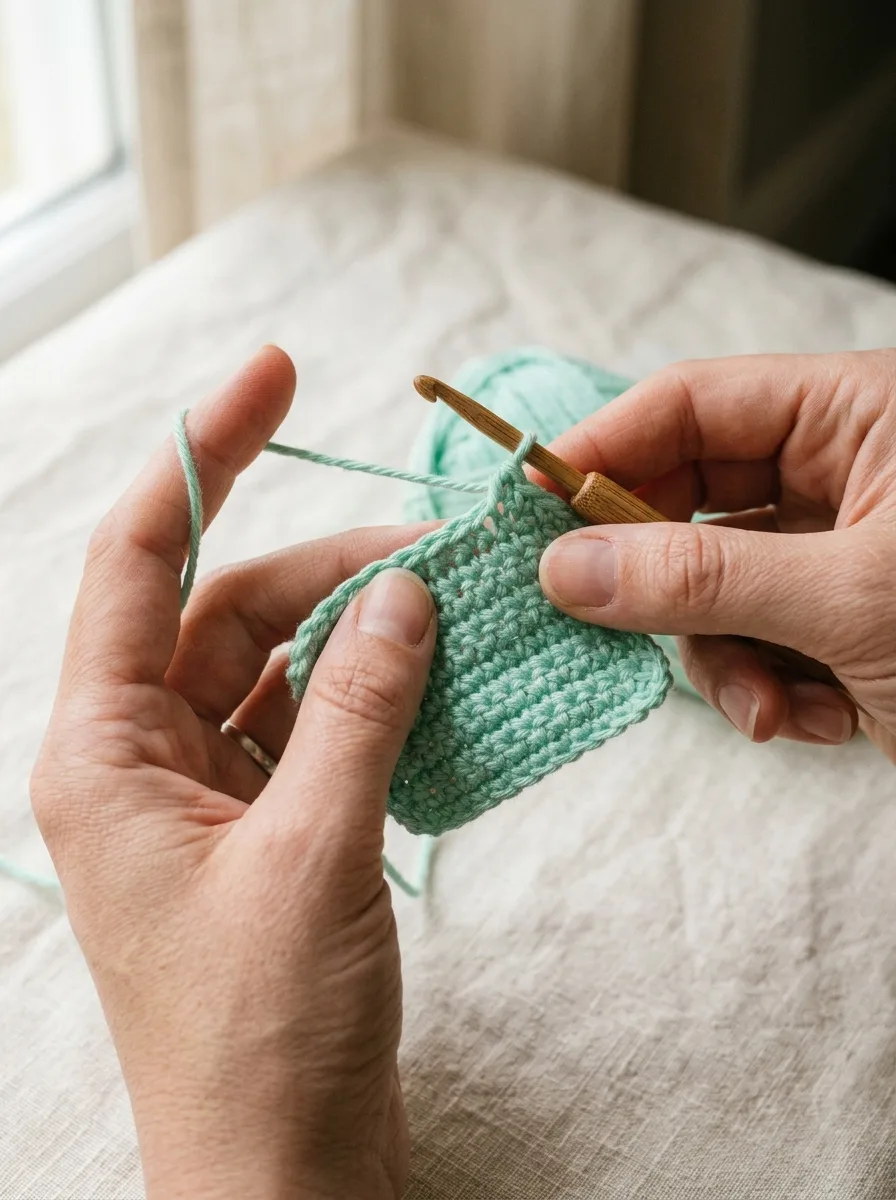
Yarn tension lives in your non-hook hand. Wrap it around your pinky and over your index finger so it feeds smoothly.
Wrap the working yarn (the end attached to the ball) loosely around your pinky, then drape it over your raised index finger. Pinch your work just below the hook with your thumb and middle finger. This feels awkward for about twenty minutes, and then it doesn’t.
Tie a Slip Knot
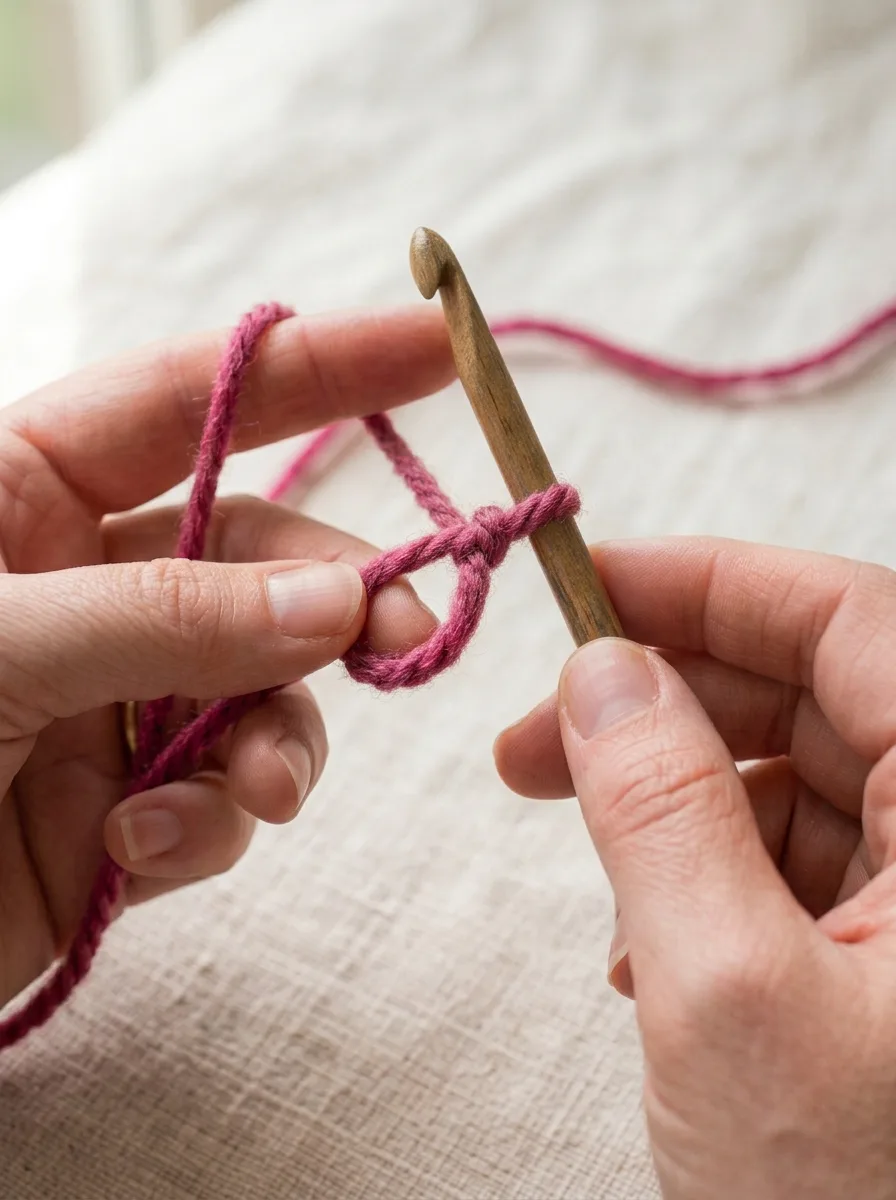
Every crochet project starts with a slip knot: an adjustable loop that attaches the yarn to your hook.
The slip knot: make a loop, pull the working yarn through it, slide it onto the hook, and snug it, not strangle it.
Leave a 15 cm (6 in) tail and make a loop by crossing the yarn over itself.
Reach through the loop and pull the working yarn through to make a second loop.
Put that new loop on your hook and gently pull both ends to snug it.
The loop should slide freely along the hook. If it’s so tight you can’t move it, loosen it. Tight starts make everything after them harder.
Your First Chain
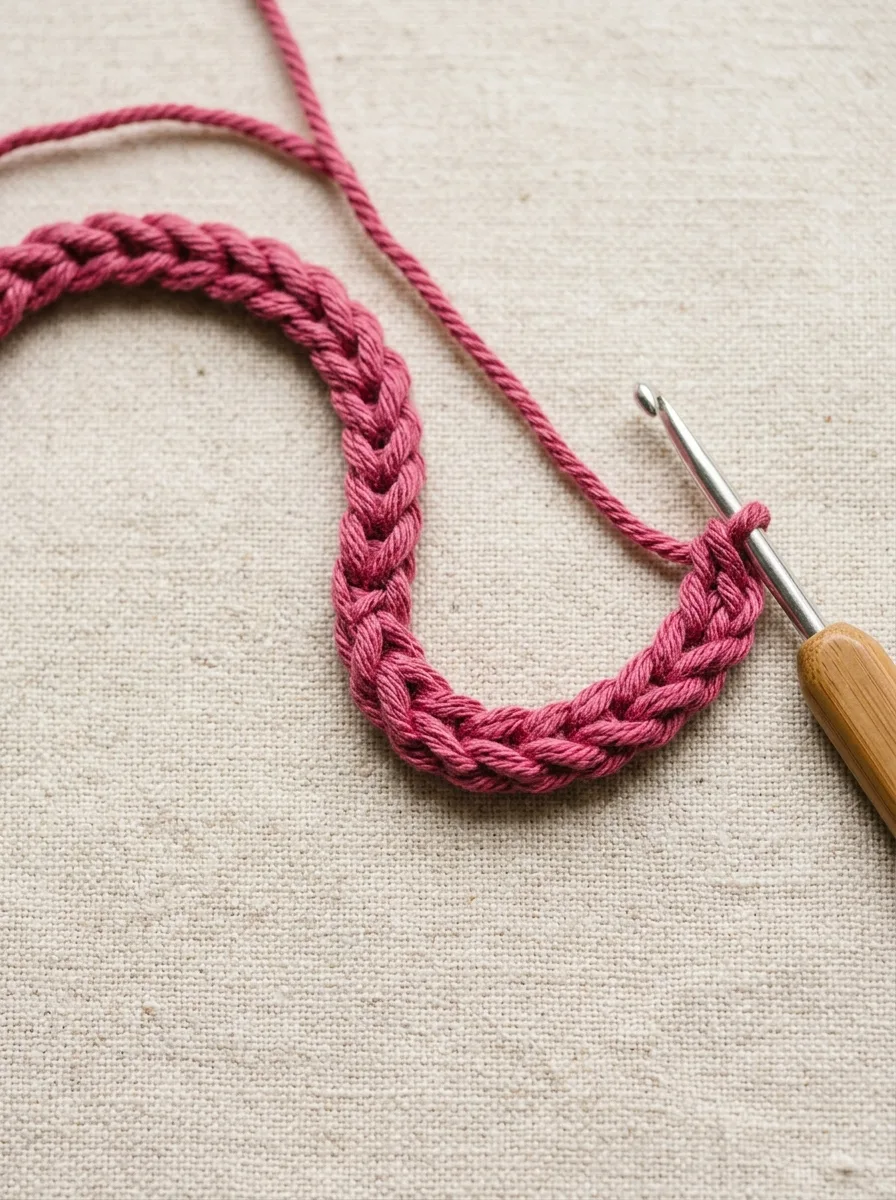
The chain (chch = chainUK: chainYarn over and pull through the loop on your hook. The foundation of almost every project.) is the foundation of almost every crochet pattern. Here’s the whole movement:
Yarn over (yoyo = yarn overUK: yarn over hook (yoh)Wrap the yarn over your hook from back to front.): bring the yarn over the hook from back to front.
Catch the yarn with the hook’s throat and pull it through the loop already on your hook.
That’s one chain. Repeat 20 more times for 21 chains total, and don’t count the loop on your hook as a stitch.
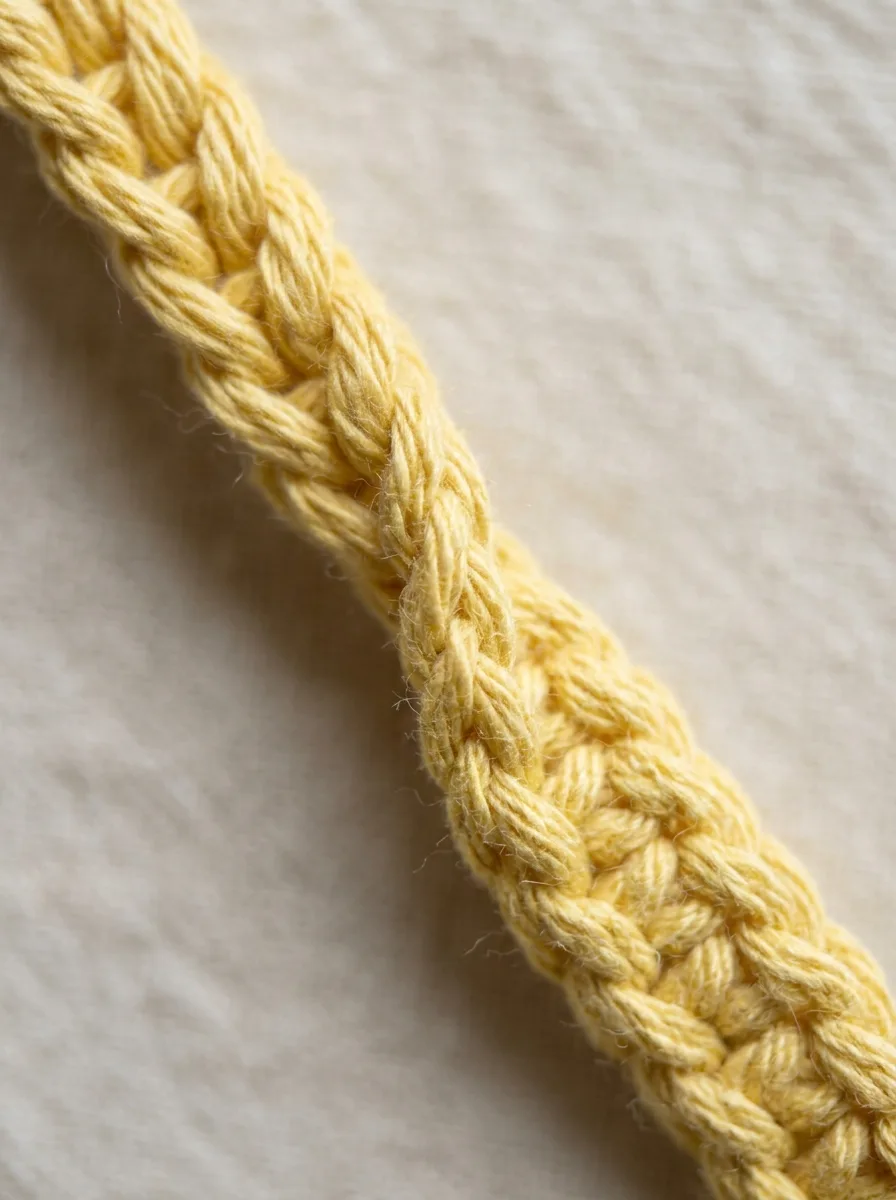
A good first chain looks like a neat row of little Vs, all the same size. Loose and even beats tight and perfect.
Move your pinching fingers up every two or three chains so you’re always holding the work close to the hook. That one habit fixes most early tension problems.
Flip your chain over: the front is a row of Vs, the back has a line of bumps. Beginners usually work into the top loop of each V.
Single Crochet, the Stitch You’ll Use Forever
Single crochet (scsc = single crochetUK: double crochet (dc)Insert hook, yarn over, pull up a loop (2 loops), yarn over, pull through both. The shortest, densest basic stitch.) is short, dense, and sturdy. It’s used in amigurumi keychains, bag bottoms, and the edges of almost everything.
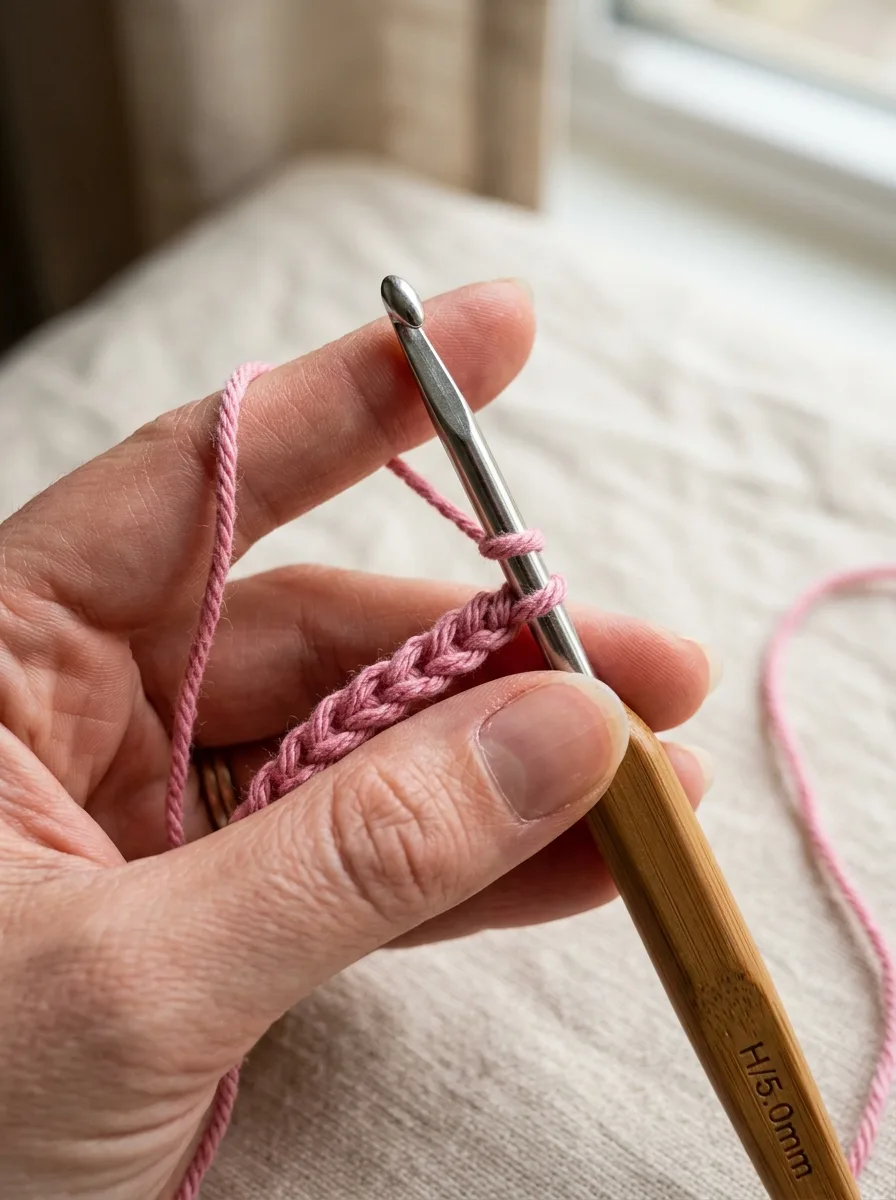
Skip the first chain next to your hook, then insert the hook into the 2nd chain from the hook.
Yarn over and pull up a loop. You now have 2 loops on your hook.
Single crochet, frozen mid-stitch: hook in the 2nd chain from the hook, yarn over, pull up a loop. Two loops on your hook.
That’s one single crochet. Work one into every remaining chain. With 21 chains you’ll end the row with 20 stitches, because that skipped first chain acts as the height of your first stitch.
Turning at the End of a Row
At the end of the row, chain 1 and turn your work so the back is now facing you. The chain 1 lifts your yarn to the height of the next row and doesn’t count as a stitch. Your first single crochet of the new row goes into the very first stitch.
End of the row: chain 1, then turn the work like a page in a book. That chain is what keeps your edges straight.
Make Your First Practice Square
Now put it together. This square uses only what you’ve just learned, so it’s the perfect first finished object. Tick off each step as you go. Your progress saves automatically, so you can come back tomorrow.
Tick as you go
First Practice Square
0 / 8 done
Count your stitches at the end of every row for the first six rows. If you have 19 or 21, pull back to where it went wrong. It's the fastest way to learn where the first and last stitches hide.
Wavy edges are normal on a first swatch. A stitch marker in the first and last stitch of each row fixes most of it.
Common Beginner Mistakes (and Quick Fixes)
Your piece keeps shrinking. You’re missing the last stitch of each row, which hides under the turning chain. Put a stitch marker in it on the previous row so you can’t miss it.
Your piece is growing into a trapezoid. You’re working twice into the first stitch, usually into the turning chain and the first stitch. The turning chain in single crochet never gets a stitch.
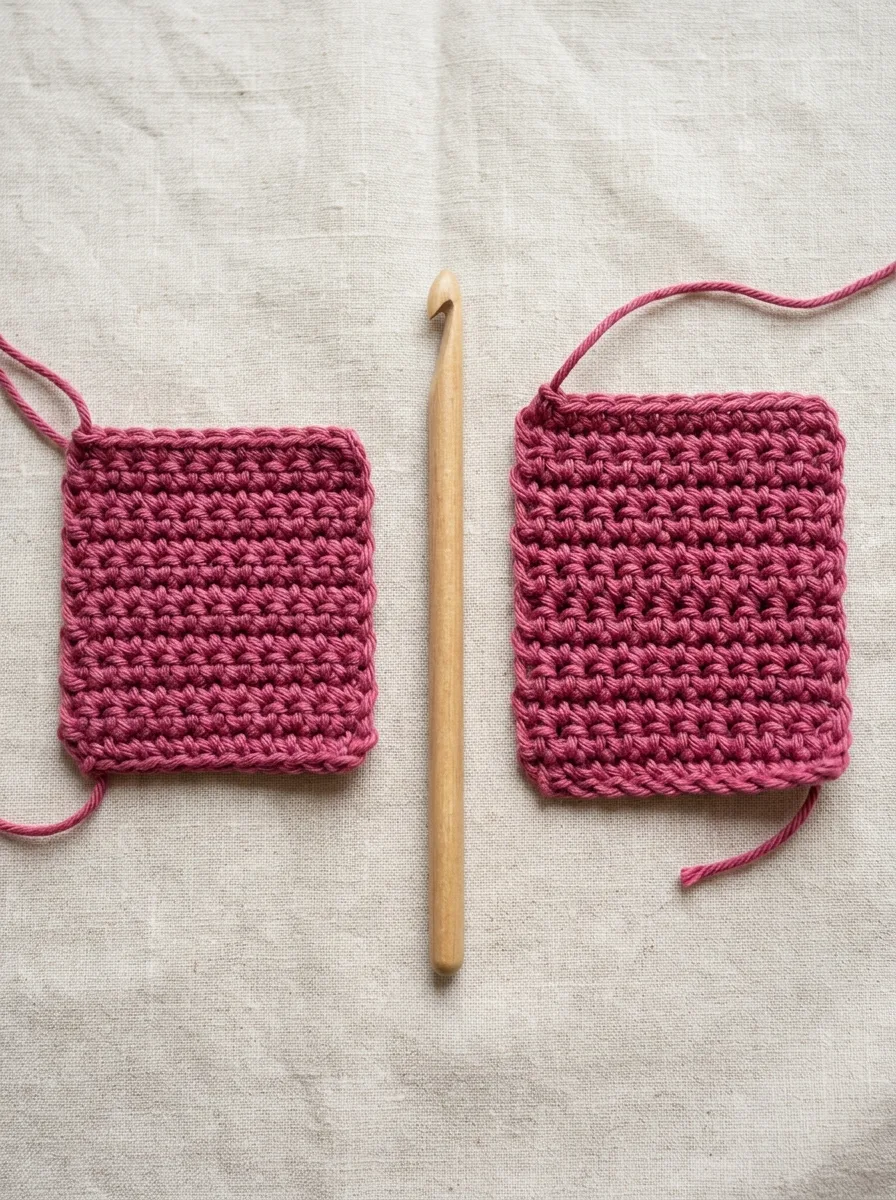
You can barely get your hook into the stitches. Your tension is too tight. Loosen the yarn over your index finger and pull each loop up to the full width of the hook shaft, not just the tip.
Same yarn, same hook, two different tensions. If your hook is fighting to get into stitches, relax your yarn hand.
Your hands hurt. Take a break every 20 minutes, loosen your grip on the hook (you’re probably squeezing it), and try the other grip.
Fasten Off and Weave In Ends
To fasten off (FOFO = fasten offUK: fasten offCut the yarn and pull the tail through the last loop to secure it.), cut the yarn with a 15 cm tail, yarn over, and pull the tail all the way through the loop on your hook. Tug gently to lock it.
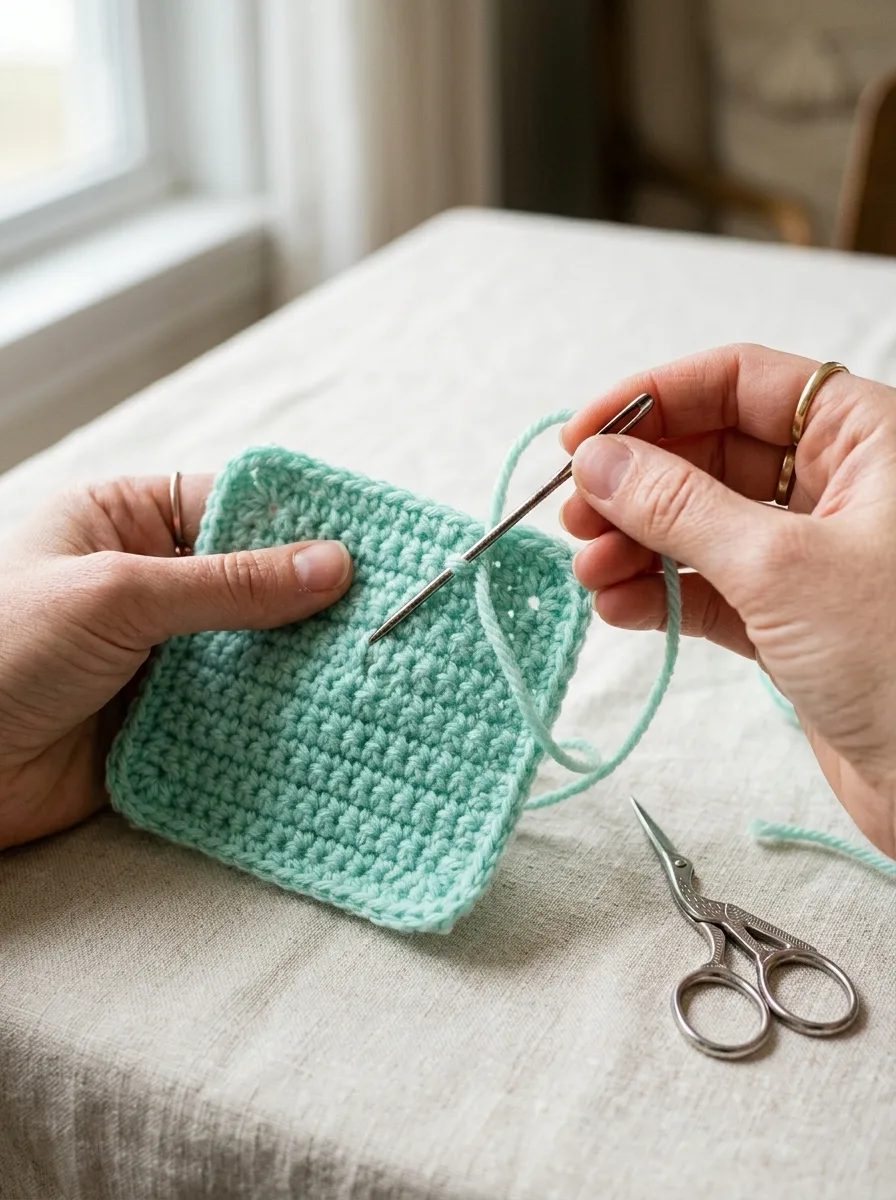
Weave each tail through at least 5 cm of stitches, changing direction once. That's what keeps ends from popping out in the wash.
Thread the tail onto your tapestry needle and weave it through the backs of stitches for about 5 cm, then turn and go back a little way in the other direction. Snip what’s left close to the fabric. Changing direction is the secret that keeps ends from working loose.
What to Learn Next
You’ve just learned the chain, single crochet, turning, and finishing: the skeleton of every crochet project. From here, the natural order is:
More stitches. Half double and double crochet let you work taller, faster fabric. See our crochet stitches guide, which also covers the magic ring used for amigurumi.
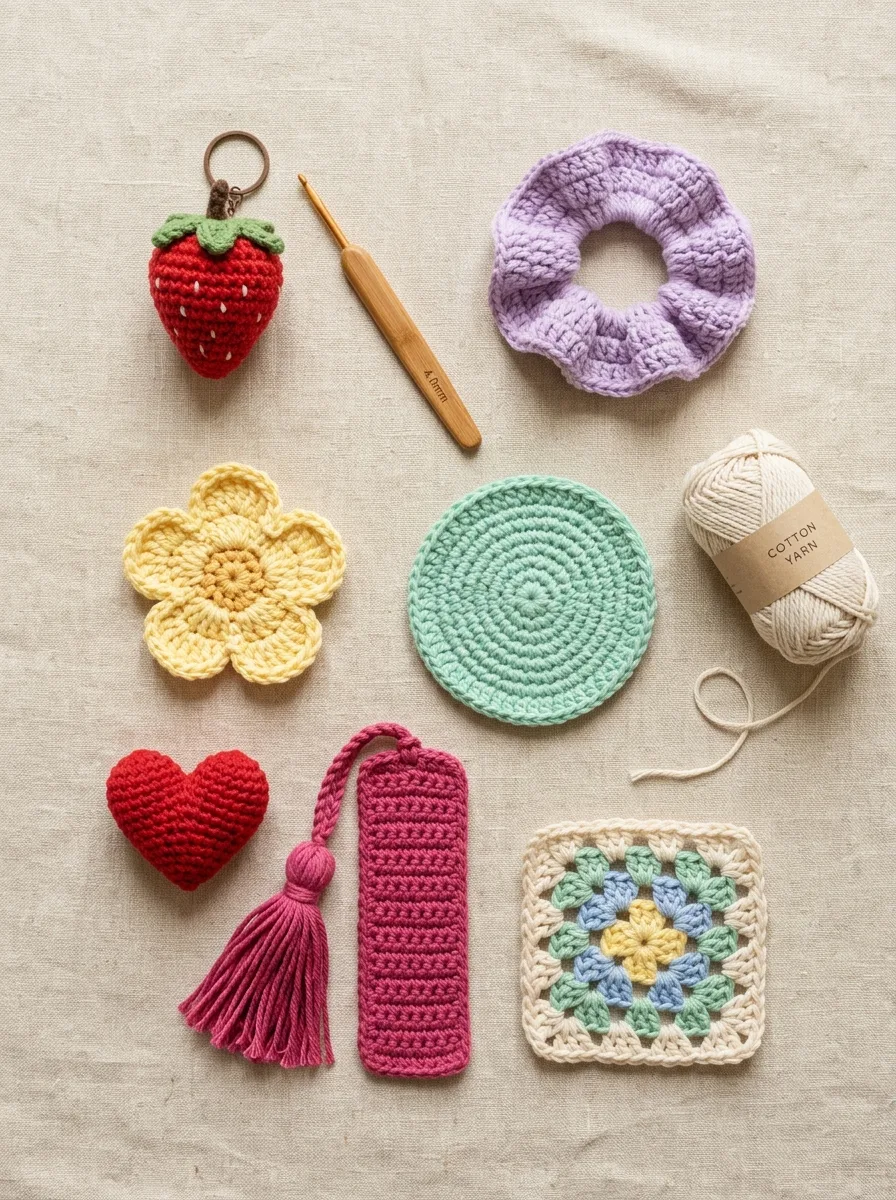
A real first project. A granny square is the classic next step. Or browse our easy crochet ideas for quick wins like scrunchies, coasters, and keychains.
For most people, yes. Crochet only ever has one live loop on the hook, so a dropped stitch can't unravel a whole row, and mistakes are easy to pull back. Most beginners can make a usable coaster in their first afternoon.
What size crochet hook should a complete beginner buy?
A 5 mm (US H-8) hook paired with a smooth worsted-weight yarn is the easiest combination to learn on. Stitches are big enough to see clearly but not so chunky that they're awkward to handle.
Why does my crochet keep getting narrower or wider?
You're almost always skipping the last stitch of a row (narrower) or working twice into the first one (wider). Put a stitch marker in the first and last stitch of every row and count to the same number each time. It fixes it within a couple of rows.
How long does it take to learn to crochet?
Most people can chain and single crochet comfortably after an hour or two of practice. Getting even tension takes a few small projects. After three or four finished pieces, most beginners are ready for a granny square or a simple hat.
Learn whichever your patterns use. Most free patterns online are in US terms, and so is this site. The catch is that the same names mean different stitches (a UK 'double crochet' is a US single crochet), so always check the terms line at the top of a pattern.