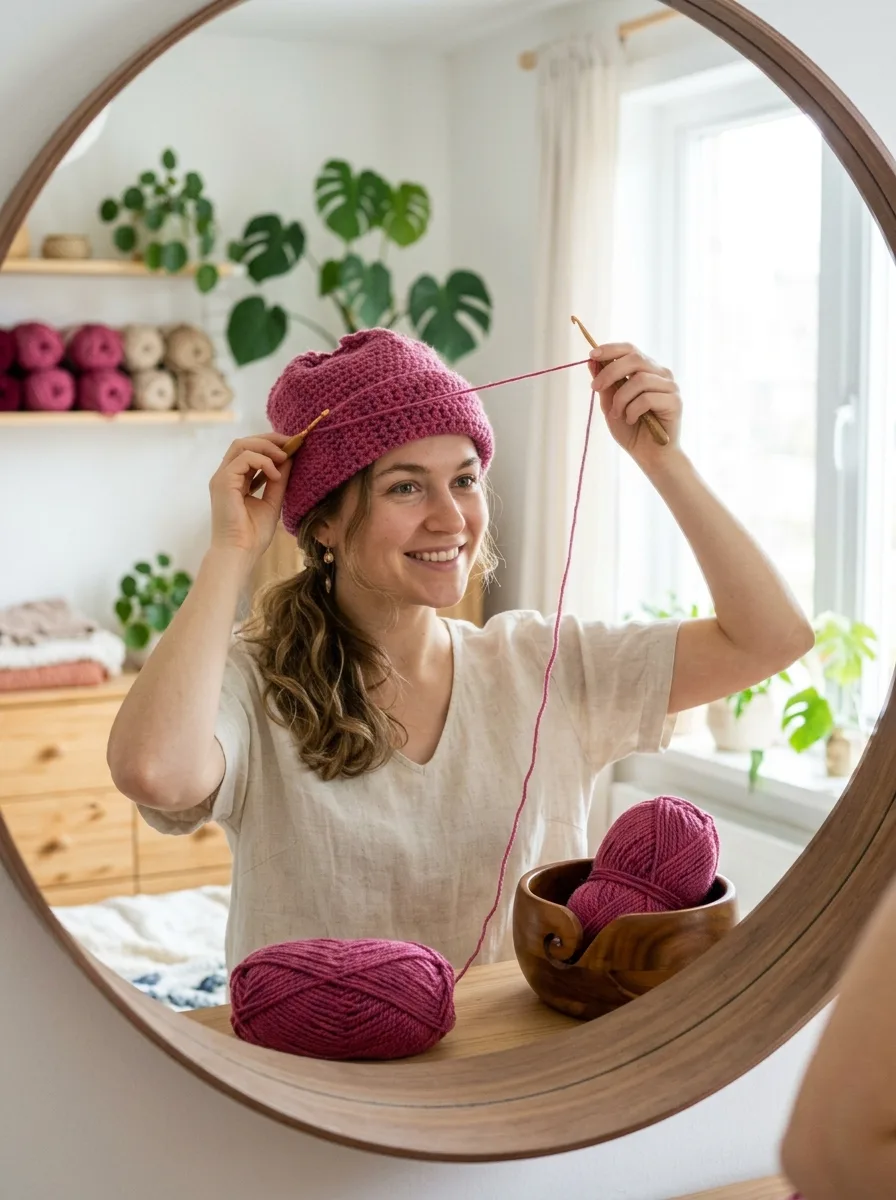
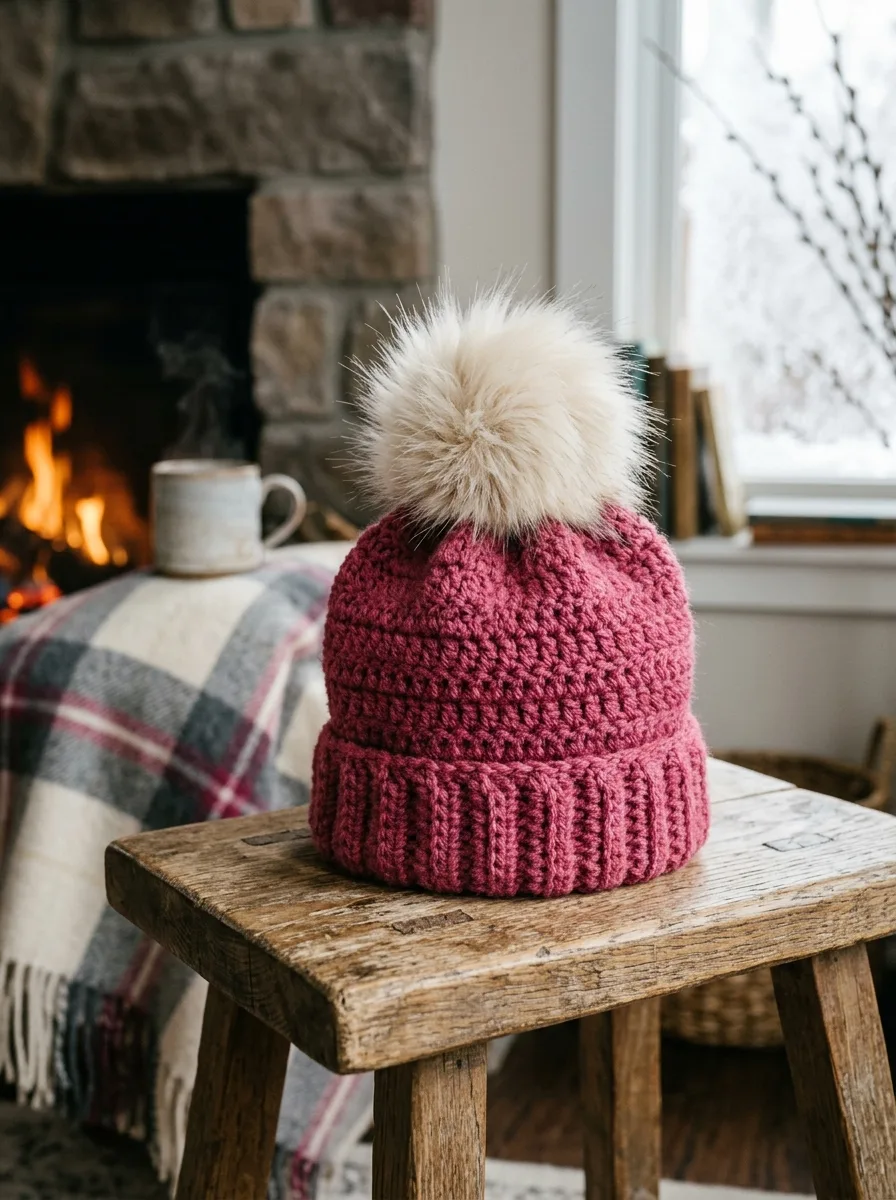
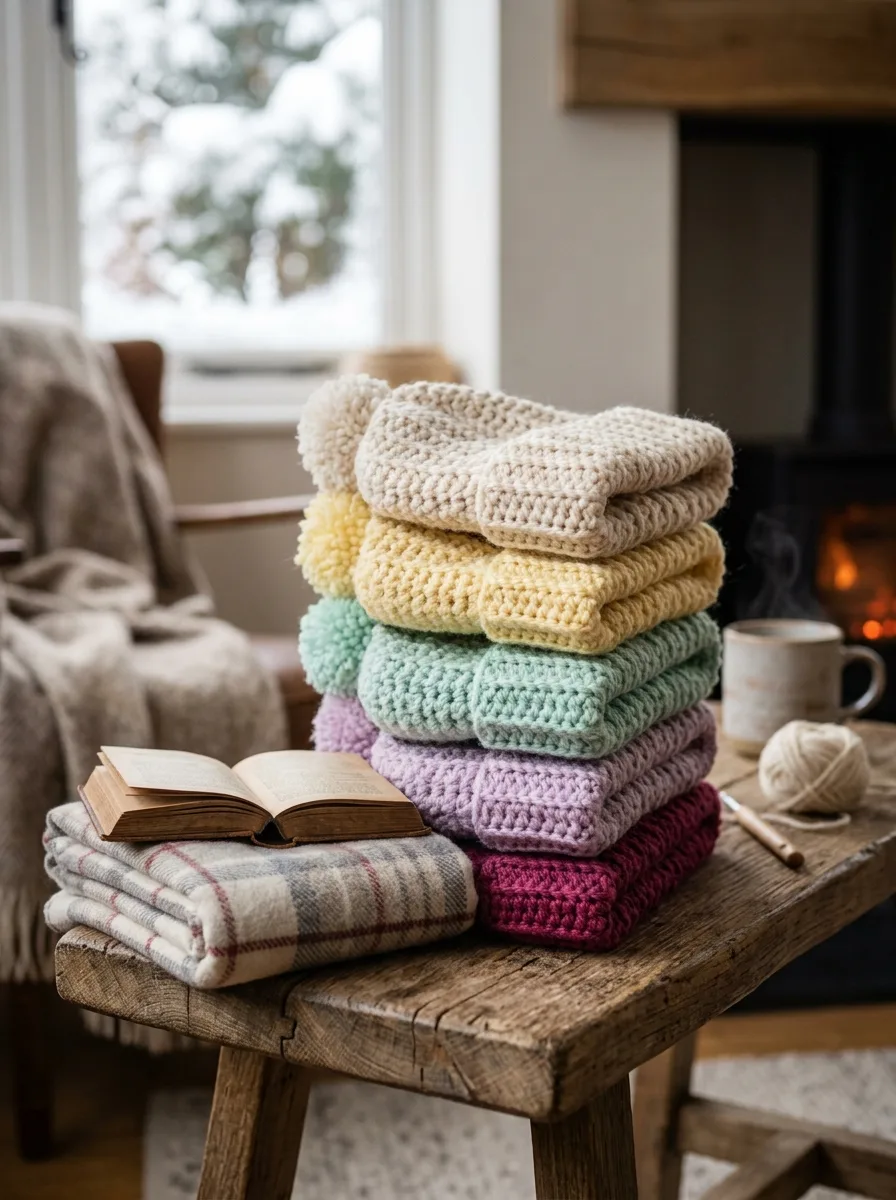
A free top-down crochet beanie pattern that fits any head, with a size chart and row tracker, plus crochet hat ideas: bucket hats, balaclavas, berets, and bonnets.
A crochet beanie is the perfect first fitted garment. It’s quick, it teaches shaping, and when you work it top-down you can try it on as you go, so it fits whoever it’s for. This free pattern includes a size chart, so the same instructions make a baby hat or an adult XL. After the pattern: bucket hats, balaclavas, berets, and more crochet hat ideas.
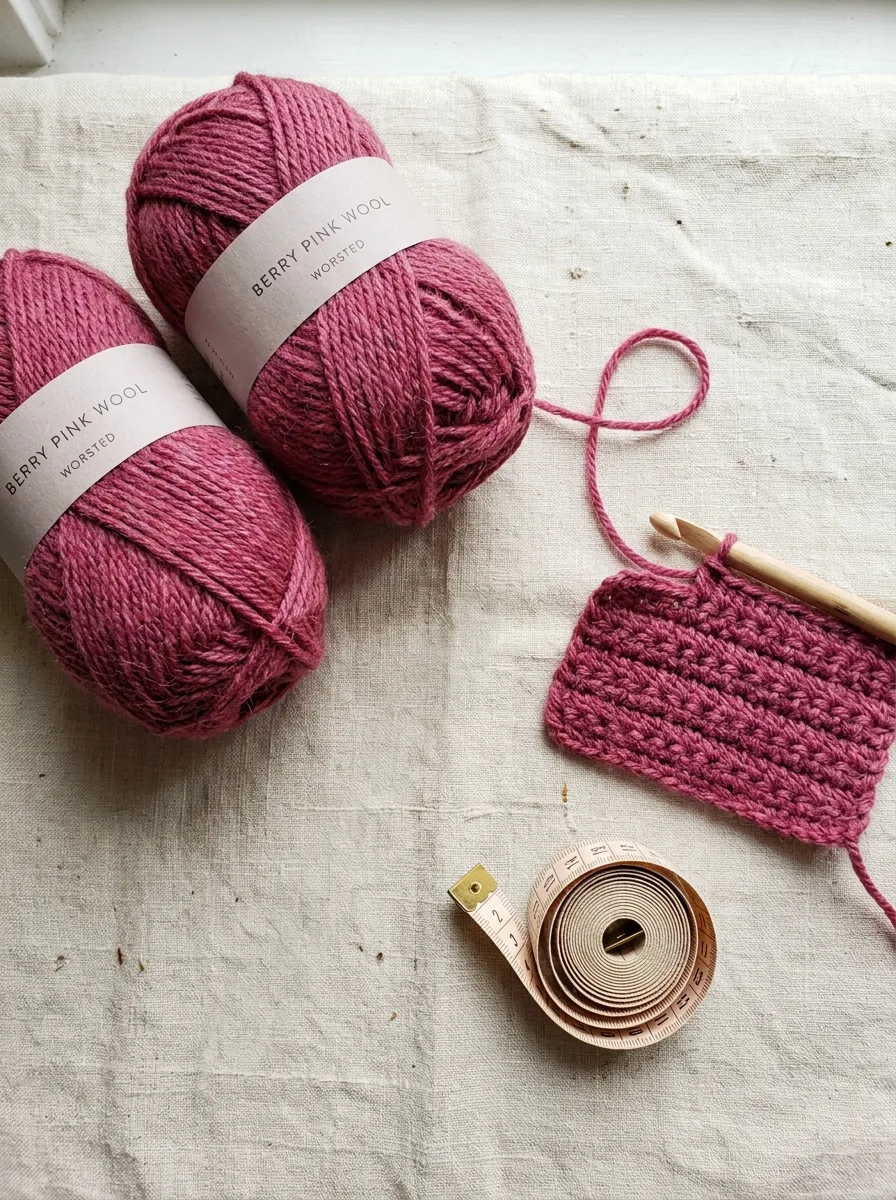
Worsted wool blend, a 5.5 mm hook, and a tape measure: the tape measure is the important part.
The beanie is hdchdc = half double crochetUK: half treble (htr)Yarn over, insert hook, pull up a loop (3 loops), yarn over, pull through all three. in joined rounds. Each round starts with a ch 2 that does not count as a stitch, and ends with a sl stsl st = slip stitchUK: slip stitch (ss)Insert hook, yarn over, pull straight through the stitch and the loop on your hook. Used to join rounds and travel invisibly. into the first hdc. Put a stitch marker in the first stitch of each round.
Part 1: The Crown
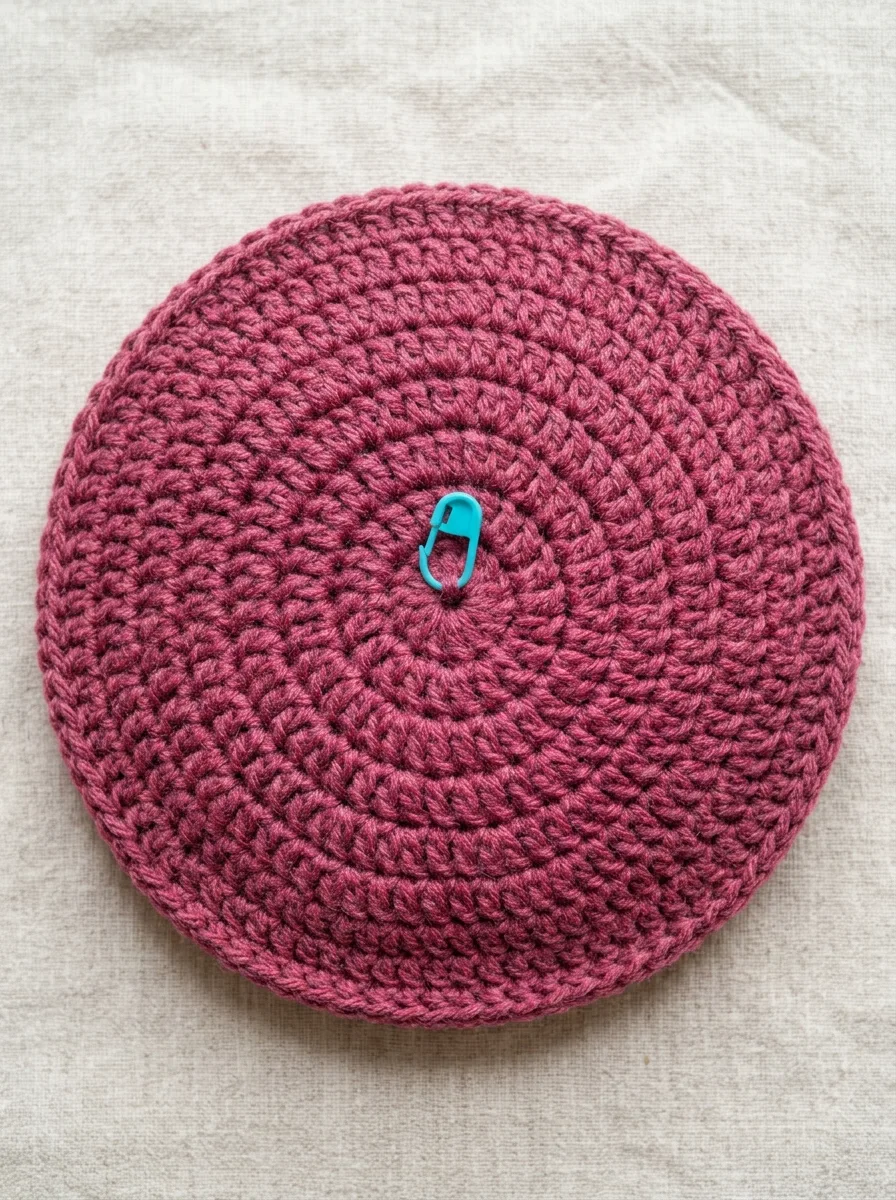
The crown is a flat circle that grows by 10 stitches every round.
Measure straight across the crown. When it matches the chart, stop increasing.
Tick as you go
Top-Down Beanie (Adult M)
0 / 11 done
Different size? Keep increasing (Rnd 8 = [hdc in next 6 sts, 2 hdc in next st] 10 times, for 80) or stop earlier, until the crown matches the chart. Then work even until the hat is about 2.5 cm short of the chart height, and add the brim.
Finished! Fasten off and admire it.
Part 2: The Body
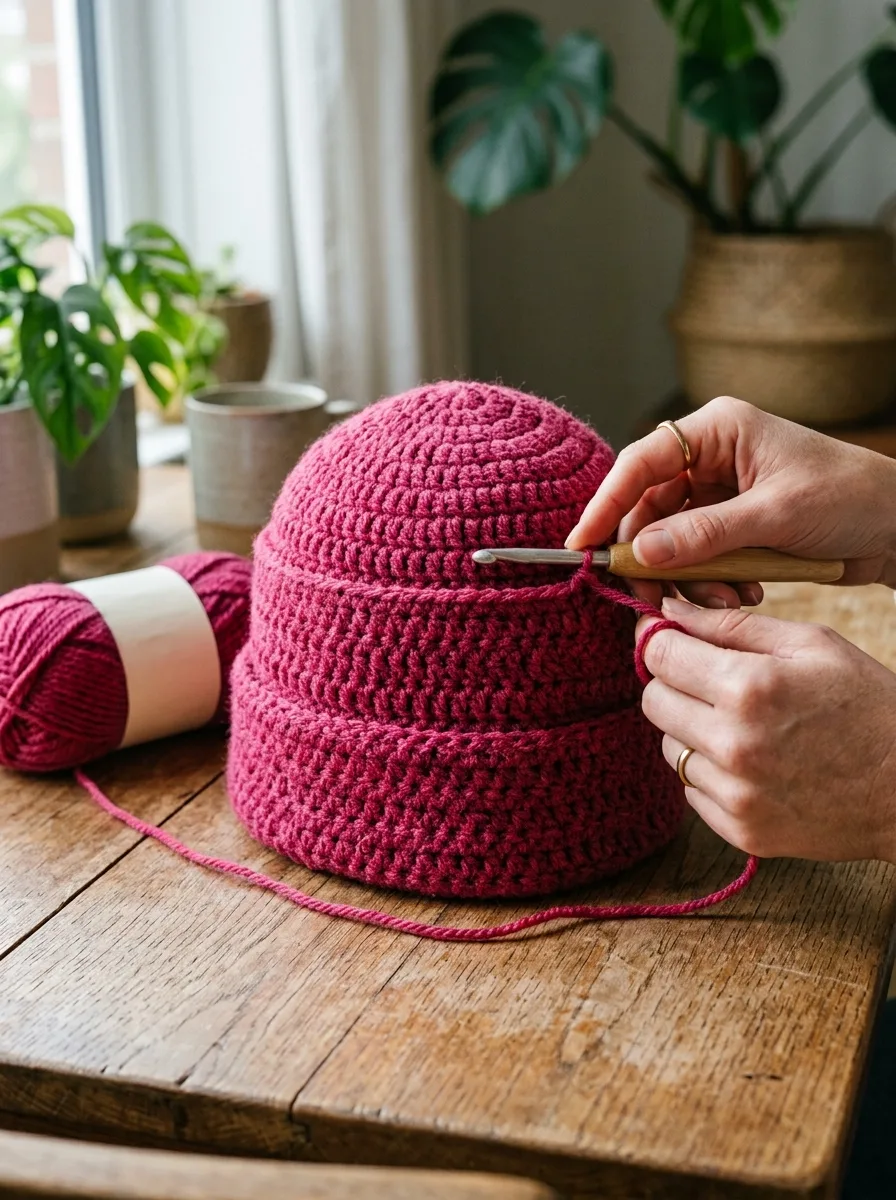
Once the crown is the right size, stop increasing and work even rounds.
Try it on as you go. It's the whole advantage of working top-down.
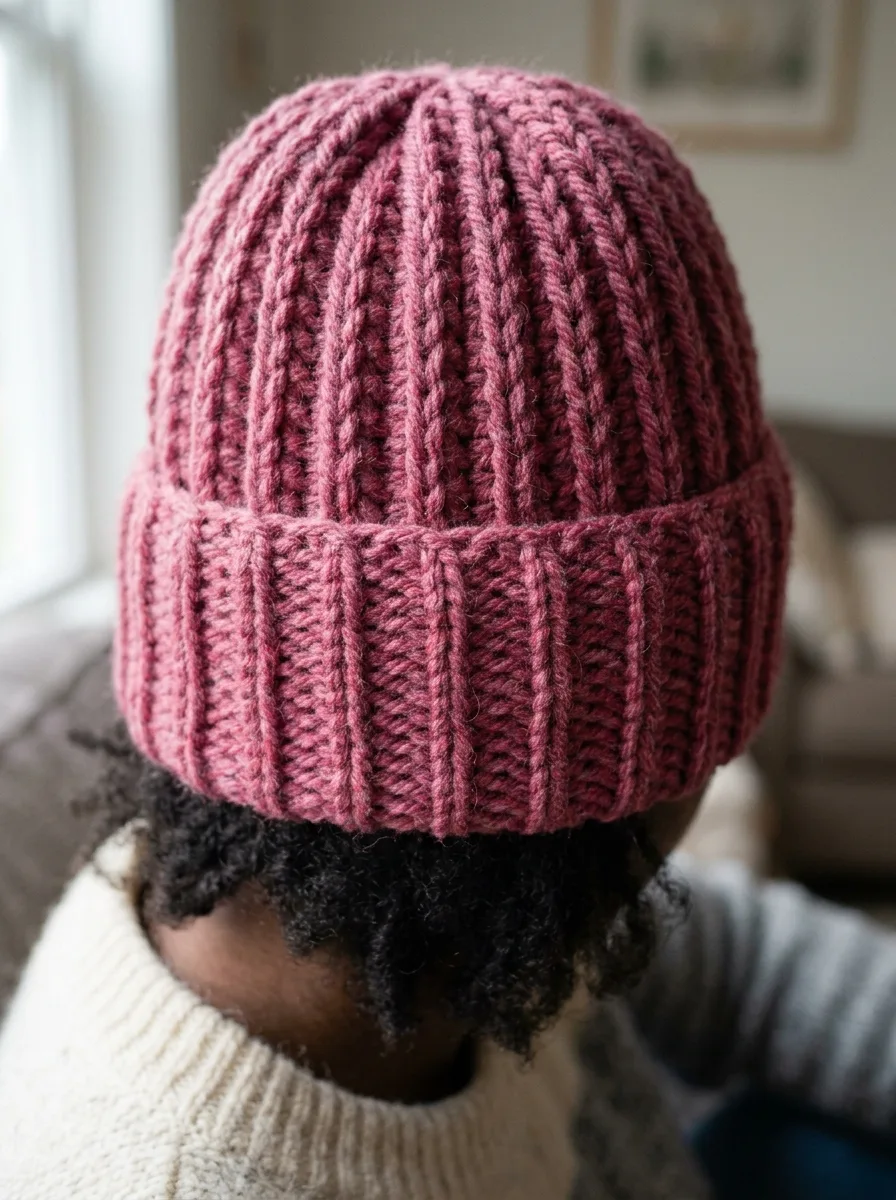
Part 3: The Ribbed Brim
Alternate FPdcFPdc = front post double crochetUK: front post treble (FPtr)Work a dc around the post of the stitch from the front instead of into its top. Makes raised ribbing and cables. and BPdcBPdc = back post double crochetUK: back post treble (BPtr)Work a dc around the post of the stitch from the back. Pair it with FPdc for stretchy ribbing. around the posts of the stitches below. Three rounds make a stretchy brim that looks knitted.
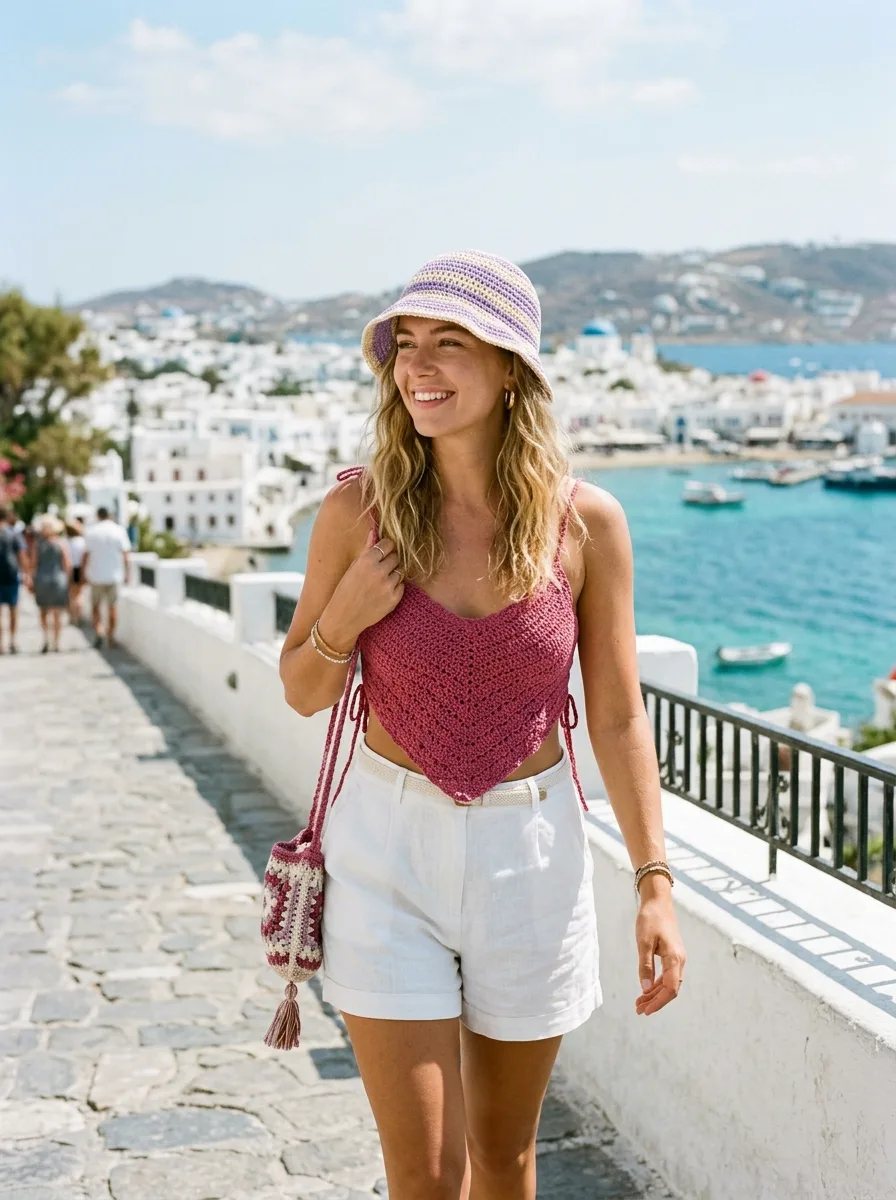
Bucket hats: the same crown, a straight body, then an increasing brim that flares out.
Use the same crown method in cotton, work straight for about 8–9 cm, then start increasing again for a flared brim. Stripes and granny-square bucket hats are huge in summer. Pair one with our summer outfits.
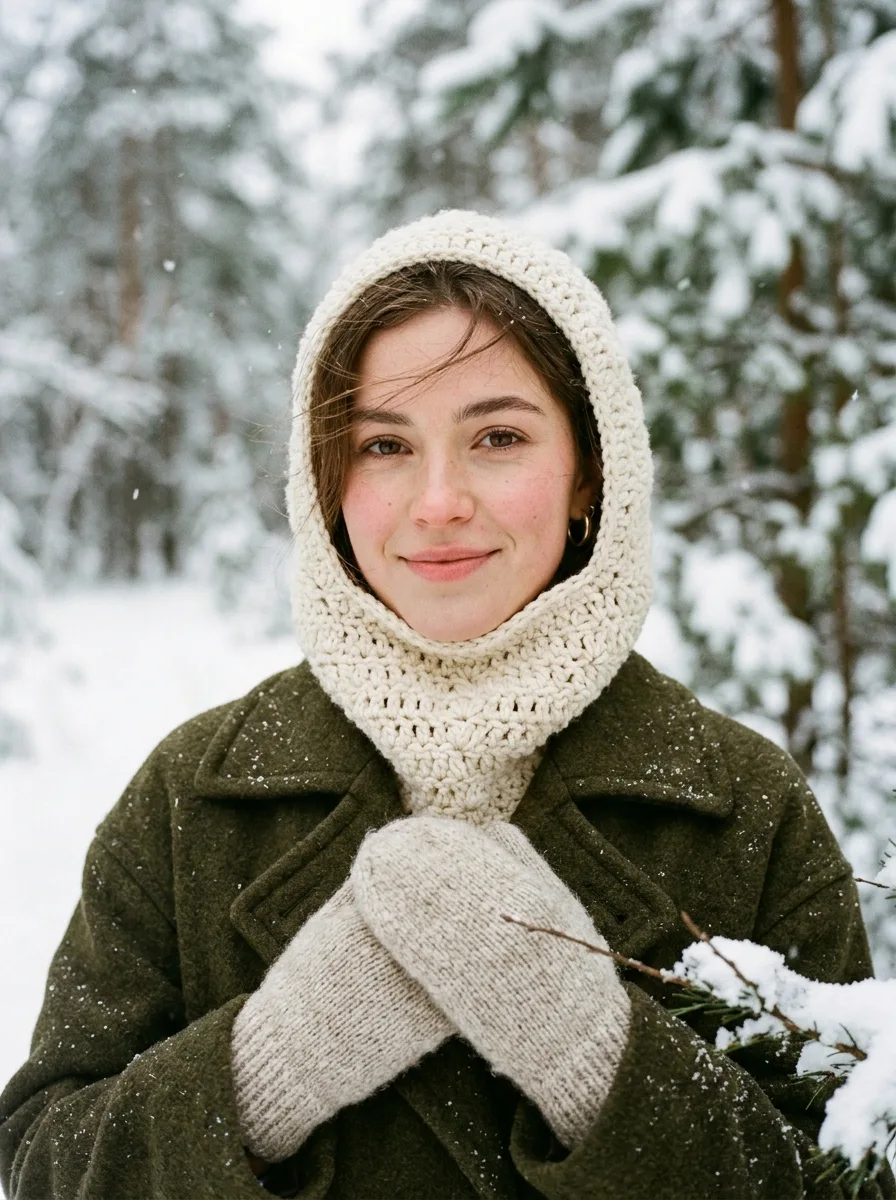
Balaclavas cover head and neck: the winter accessory that went viral.
A hood that covers the head and neck, with an opening for the face. It’s usually worked as a ribbed rectangle folded and seamed at the top, plus a neck section.
Work top-down and measure the crown: when its diameter matches the chart for your head size, stop increasing. Then work straight down and try it on as you go. Hats are usually made 2–5 cm smaller than the head so they hug without slipping.
Why is my hat crown ruffling or cupping?
Ruffling means your stitches are looser than the pattern's gauge (or you added too many); cupping means they're tighter. Change hook size, or stop increasing a round earlier or later, and always compare the diameter to the chart.
What's the best yarn for crochet hats?
A soft wool blend or superwash wool for warmth and stretch, or acrylic for easy care. Cotton hats have little stretch, so they work better for summer bucket hats than for snug beanies.
Joined rounds in half double crochet drift slightly. To keep the seam straight, always join into the first stitch (not the chain-2) and make your first hdc of each round into that same stitch. Some crocheters prefer working in a continuous spiral instead.
How do I make a crochet bucket hat?
Use the same crown method in cotton, work the sides straight for about 8–9 cm, then start increasing again for the brim: roughly 10 stitches every other round for a gentle flare. Firm single crochet gives the brim more structure.